> ## Documentation Index
> Fetch the complete documentation index at: https://docs.usetusk.ai/llms.txt
> Use this file to discover all available pages before exploring further.
# Self-Hosted Runners
> Run Tusk-generated tests on your own GitHub Actions runner
**We recommend using Tusk's managed test environments** for most teams. The managed flow is faster to set up, requires no maintenance, and works with GitHub and GitLab. If you're setting up a new repository, use the **Analyze Repository** flow on the Unit Tests page instead.
Self-hosted runners are available for teams with specific infrastructure requirements. Contact [support@usetusk.ai](mailto:support@usetusk.ai) to enable this option.
## When to Use Self-Hosted Runners
Self-hosted runners may be appropriate if you:
* Have strict compliance requirements for code execution
* Need access to private network resources during tests
* Already have significant GitHub Actions infrastructure
* Require specific hardware (GPUs, high memory)
## Requirements
Before you begin, make sure that you meet these requirements:
* Use **GitHub** for version control (GitLab not currently supported for self-hosted runners)
* Have GitHub **admin access** to manage secrets or variables for your repo
* Already have a **CI workflow** for running unit tests (setup, test script available)
* Have contacted Tusk support to enable self-hosted runners
## Overview
To surface meaningful and validated tests, Tusk needs to execute the tests it generates against your commit with your specific project's dependencies.
Most engineering teams already have existing CI pipelines for running their unit test suites, most commonly with GitHub Actions.
The self-hosted flow allows you to provision a GitHub Actions runner as an ephemeral sandbox, enabling you to leverage your existing workflow setup and giving you greater control over the configuration.
Using Tusk via self-hosted runners will accrue GitHub Actions minutes for your organization. GitHub provides a generous amount of [free minutes](https://docs.github.com/en/billing/managing-billing-for-your-products/managing-billing-for-github-actions/about-billing-for-github-actions#included-storage-and-minutes) but a single Tusk test generation run can cost \$0.16-0.32 depending on which runner you use. More on GitHub Actions billing [here](https://docs.github.com/en/billing/managing-billing-for-your-products/managing-billing-for-github-actions/about-billing-for-github-actions).
## Set-Up Instructions
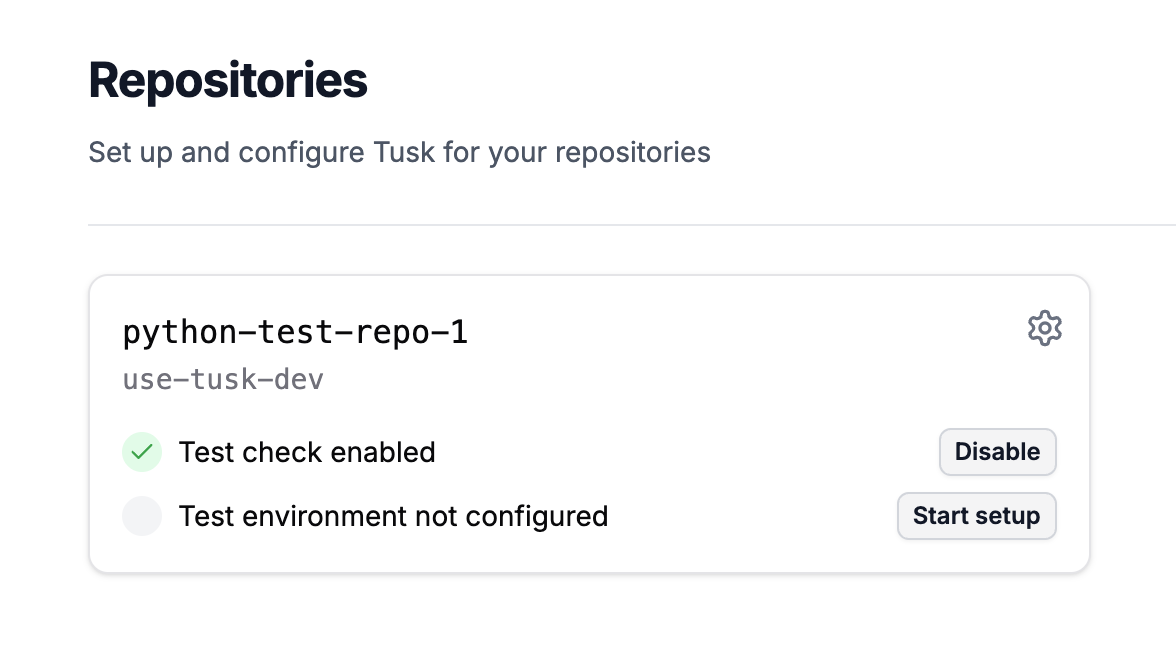
In the [Unit Tests](https://app.usetusk.ai/app/unit-tests/repos) page, click **Start setup** under the synced repo that you would like to set up a test environment for.
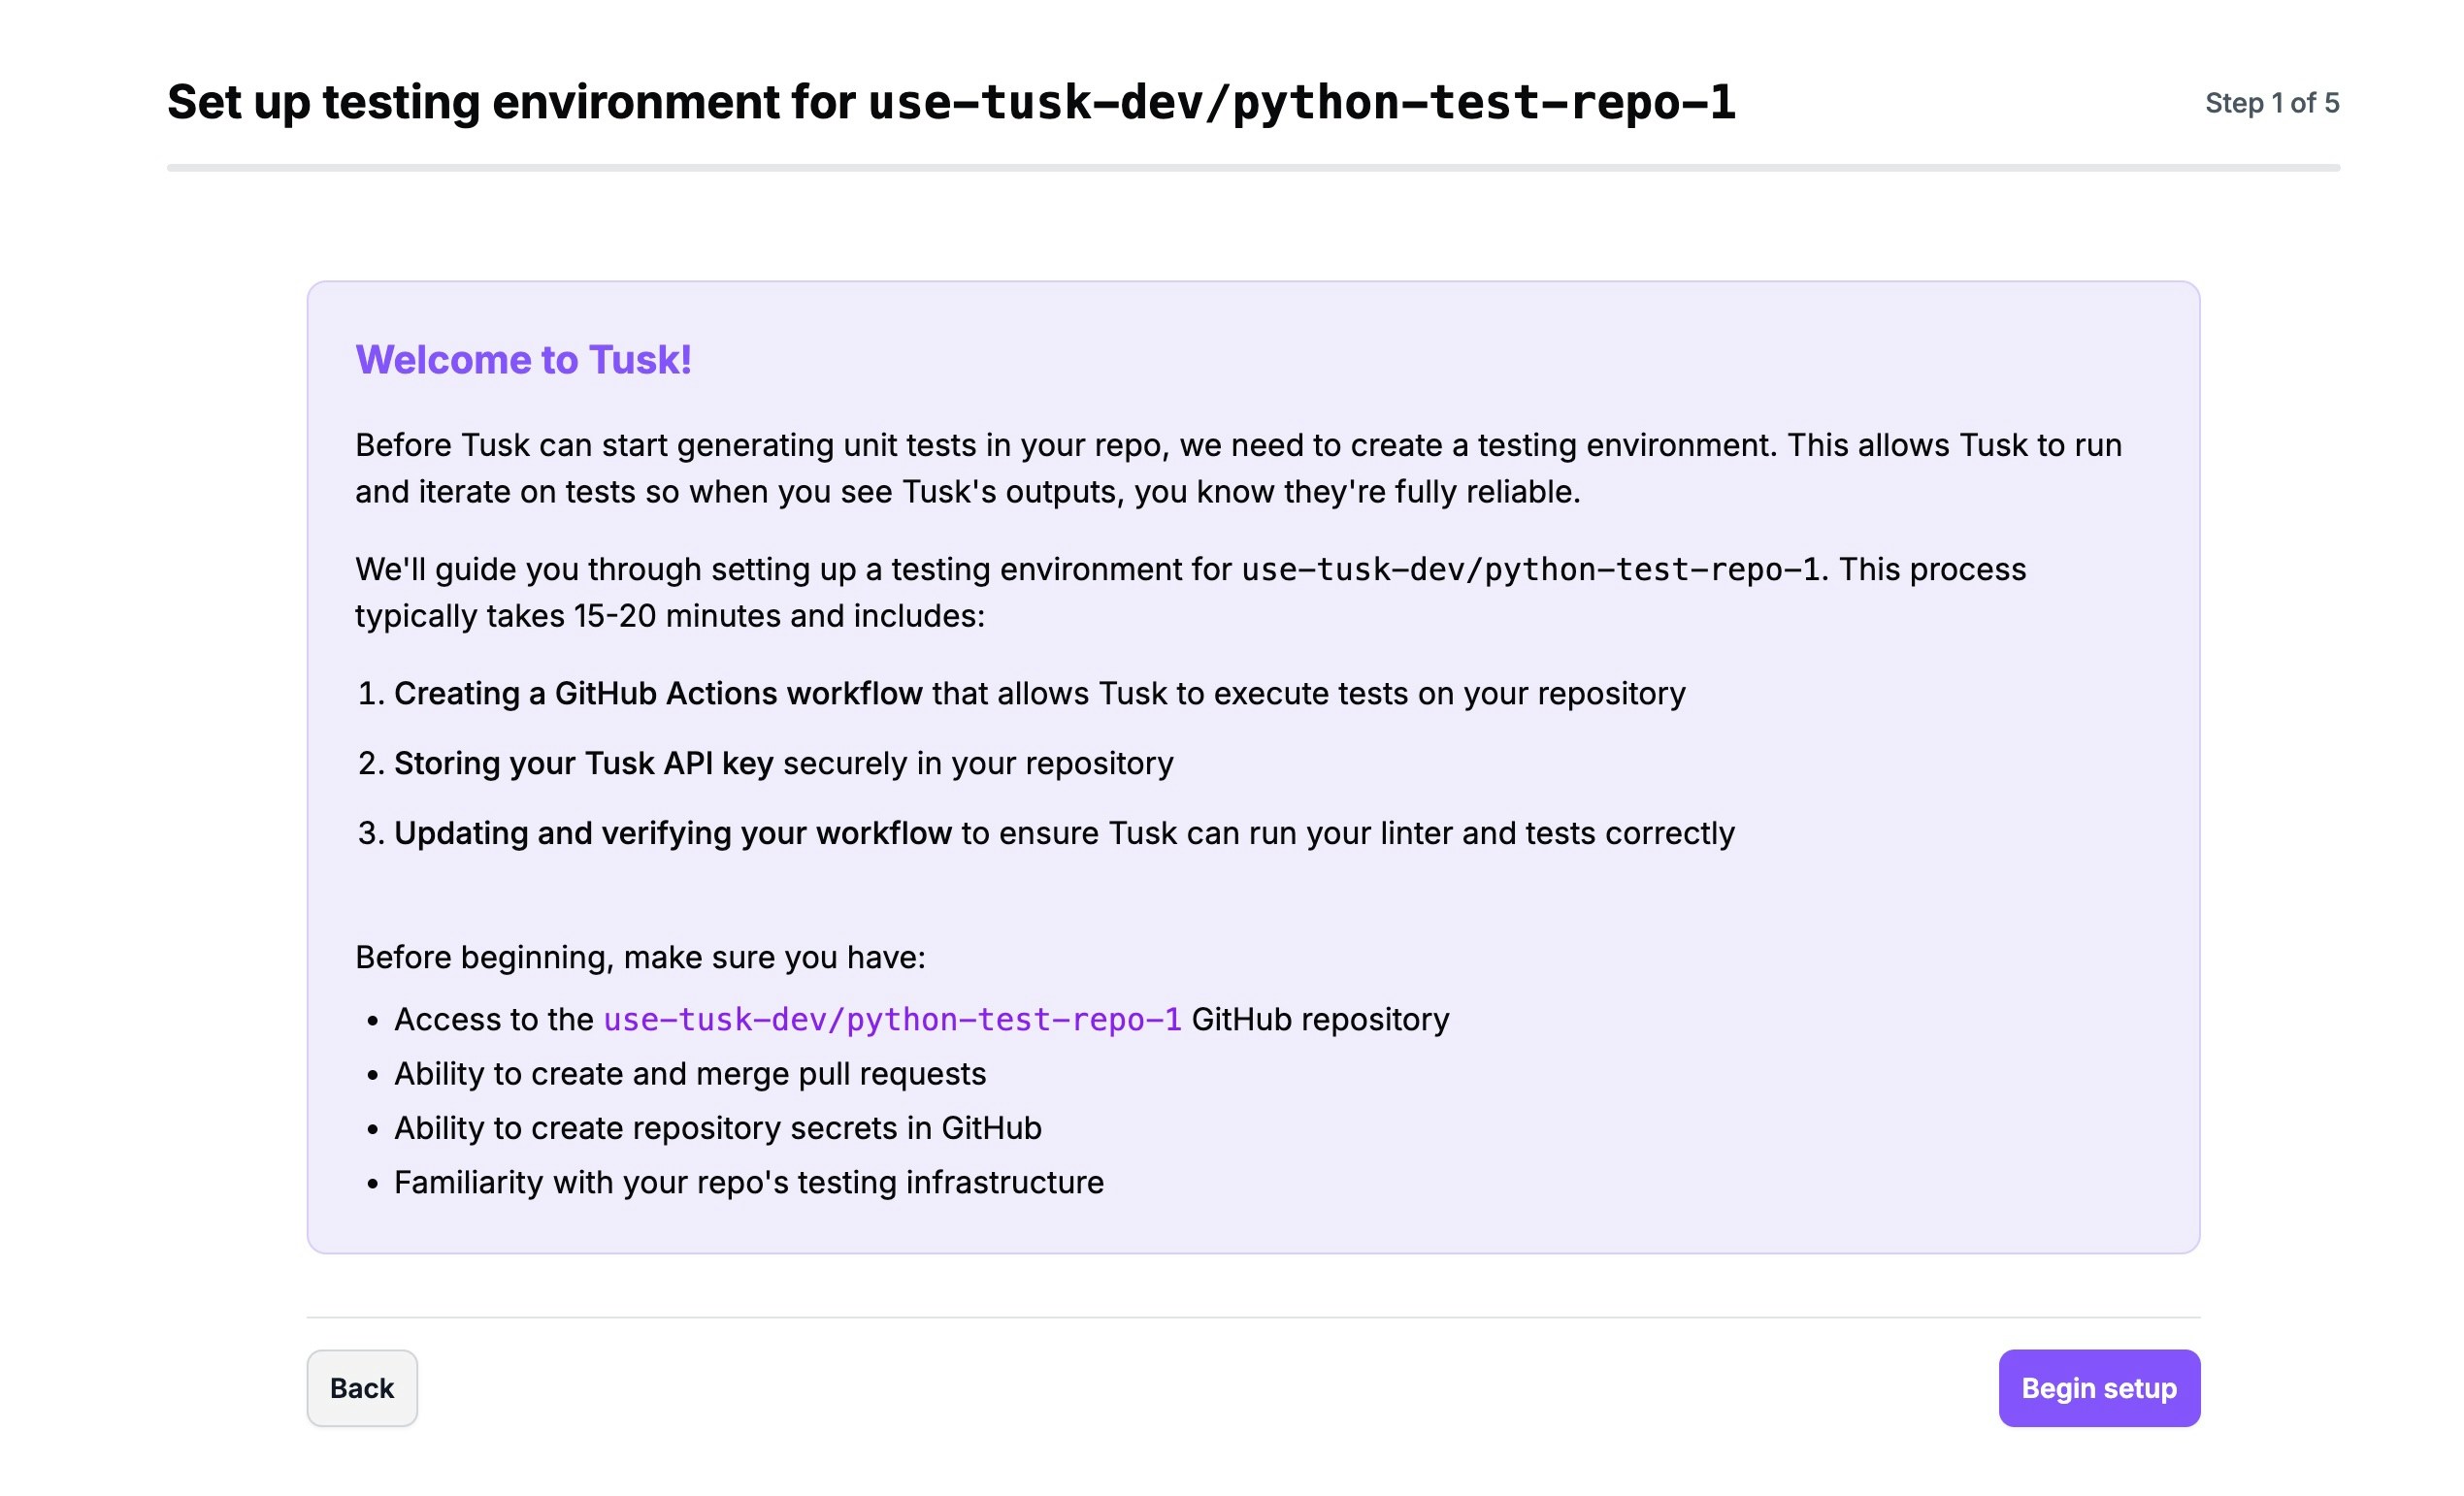
 You'll be directed to the wizard for setting up a test environment. Click **Begin setup**.
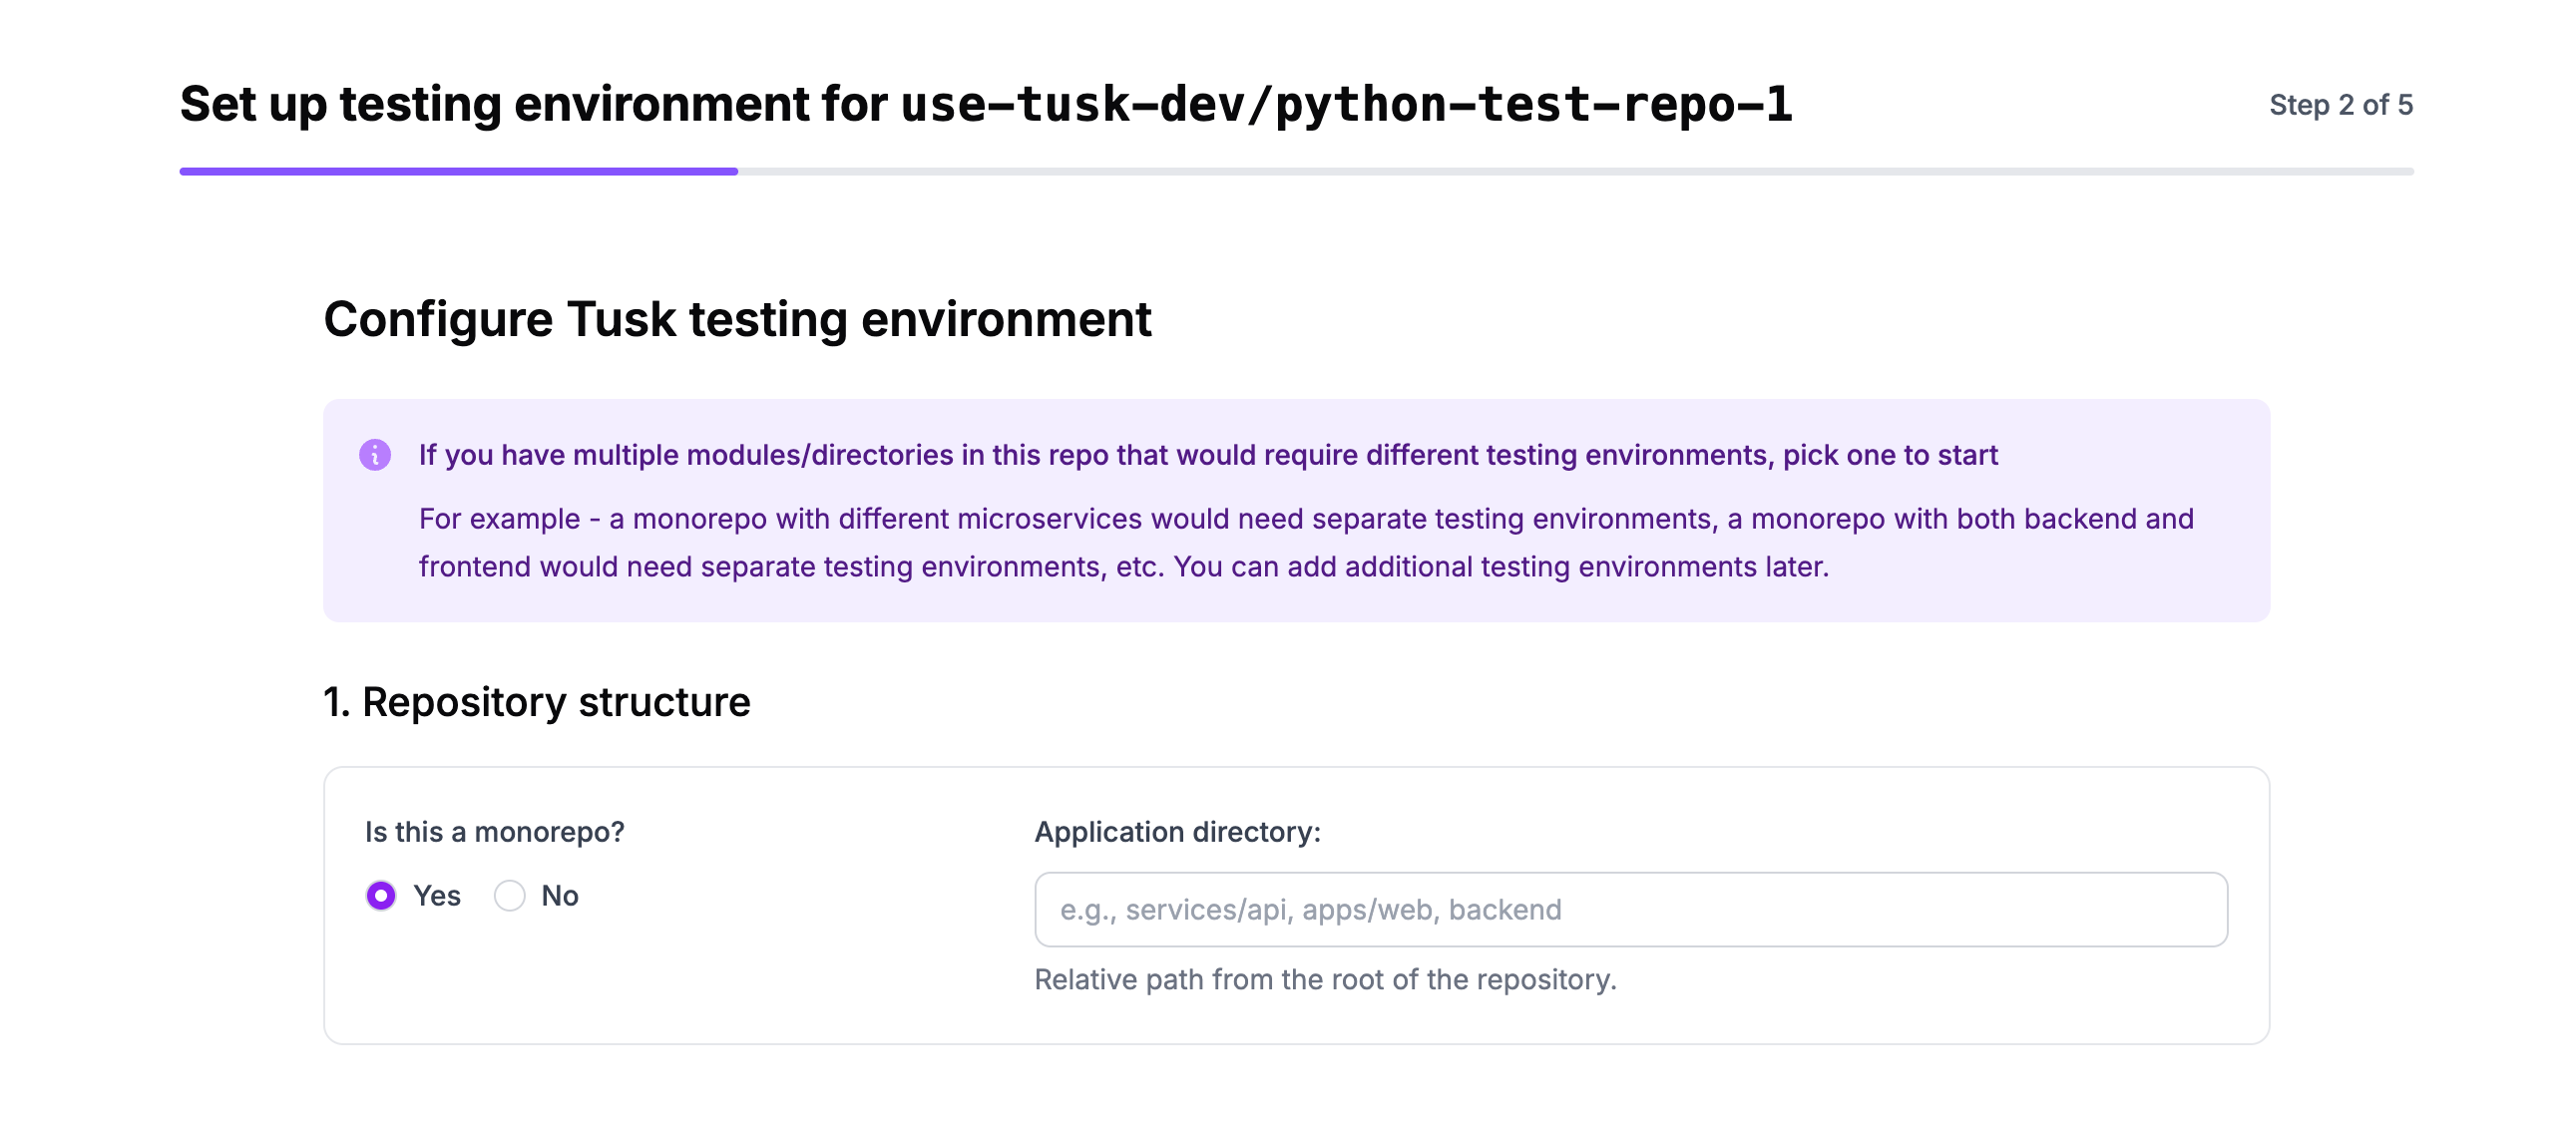
 Start by selecting whether the repo you're setting a test environment for is a monorepo or not. If it is a monorepo, include the application directory in the field that appears.
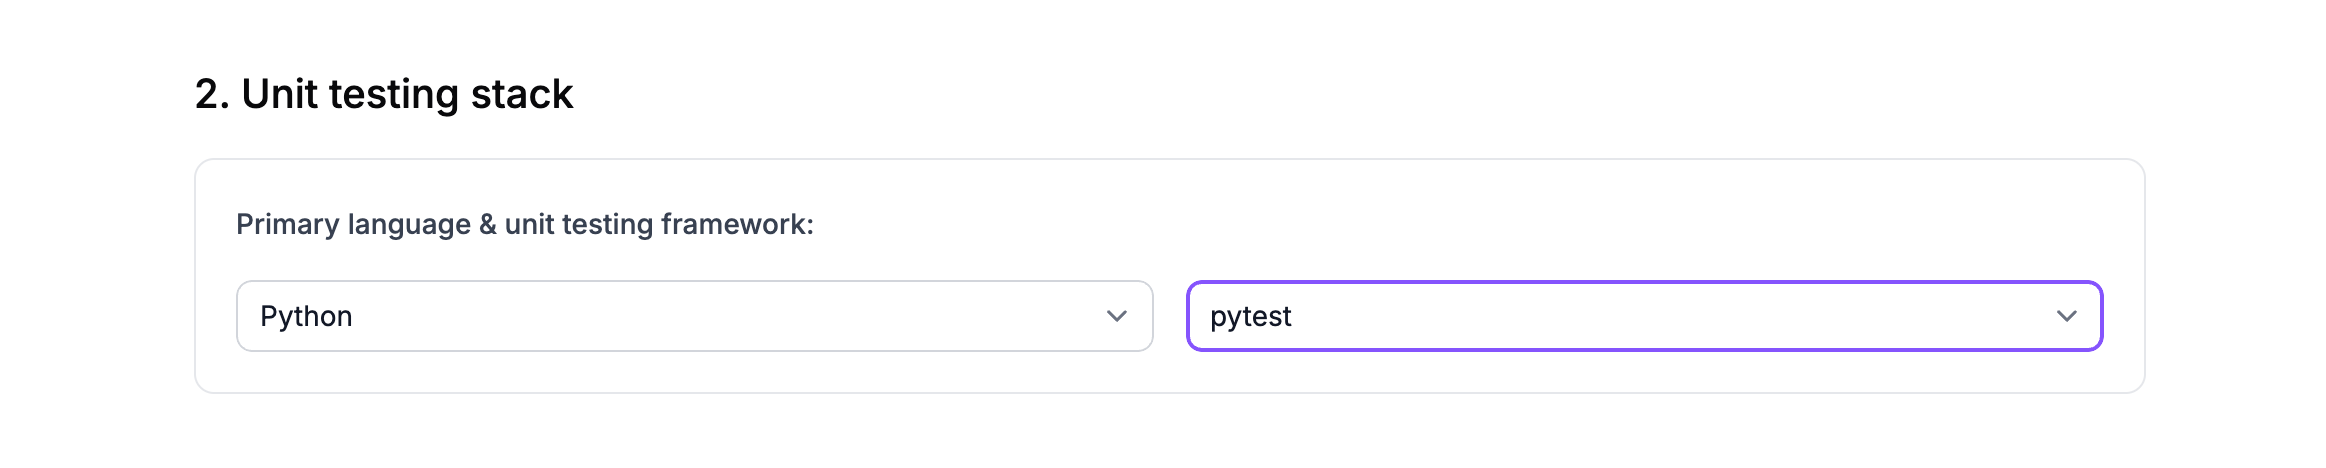
 Then, choose your primary programming language and unit testing framework.
 Next, provide the file paths of the workflows for running your unit test suite and linting/formatting checks. Tusk uses this to generate an accurate workflow file for running its tests.
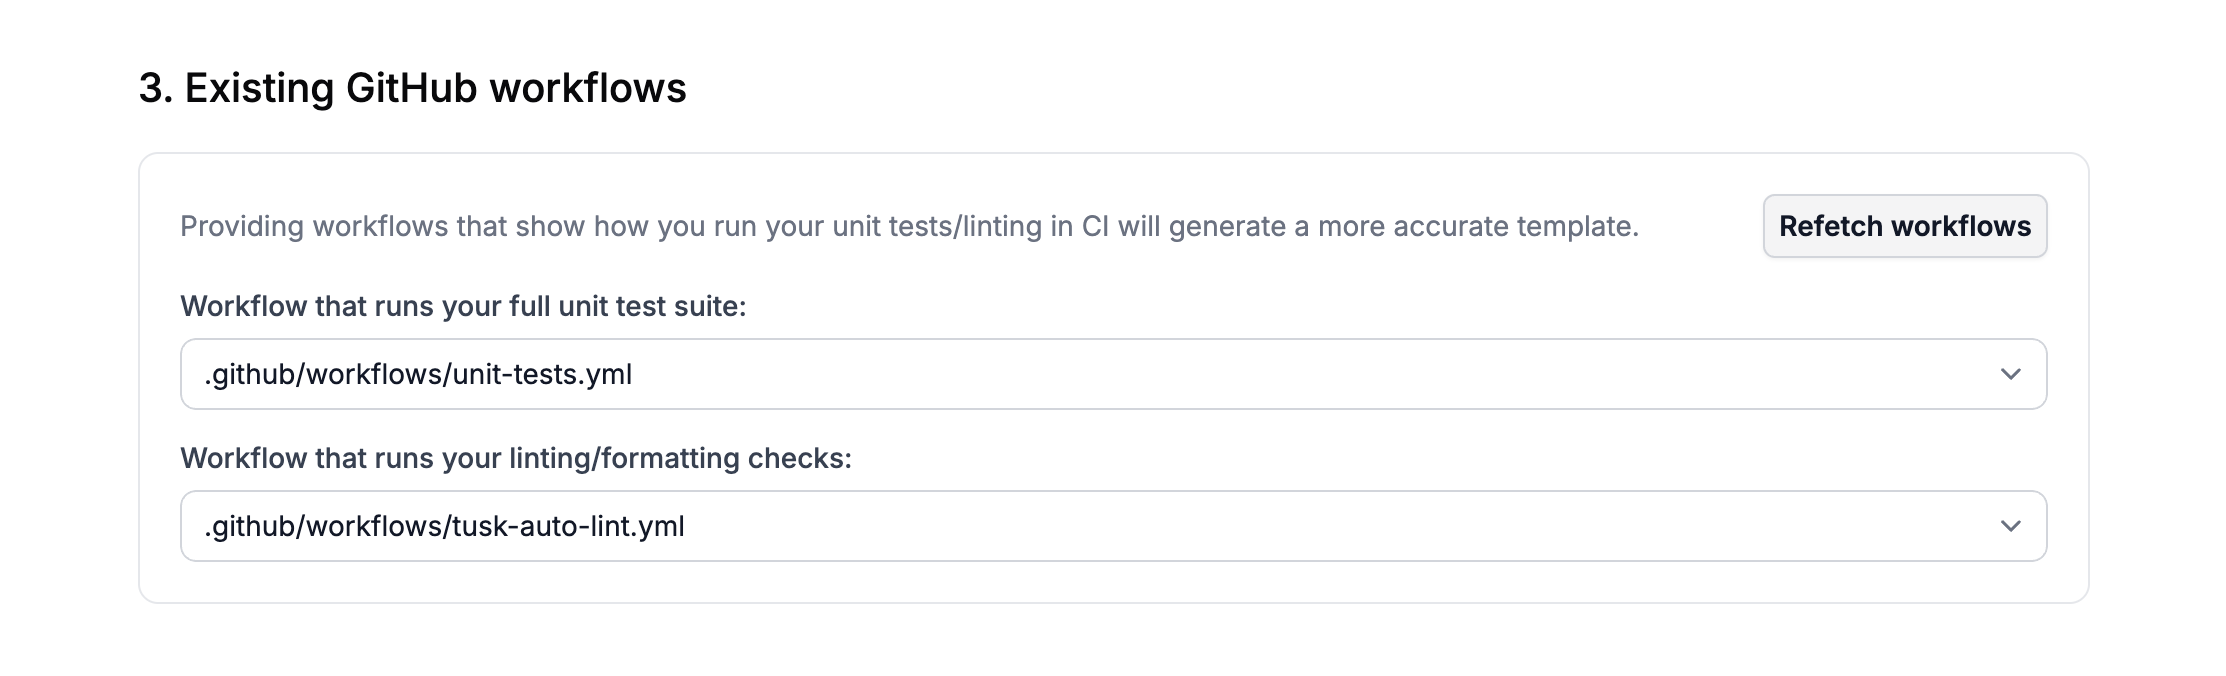 Pick between using the Tusk template for the GitHub Actions workflow file (Option 1) or creating the workflow file manually (Option 2).
We recommend going with Option 1 and clicking **Create PR with template** to use Tusk's tailored workflow file.
Pick between using the Tusk template for the GitHub Actions workflow file (Option 1) or creating the workflow file manually (Option 2).
We recommend going with Option 1 and clicking **Create PR with template** to use Tusk's tailored workflow file.
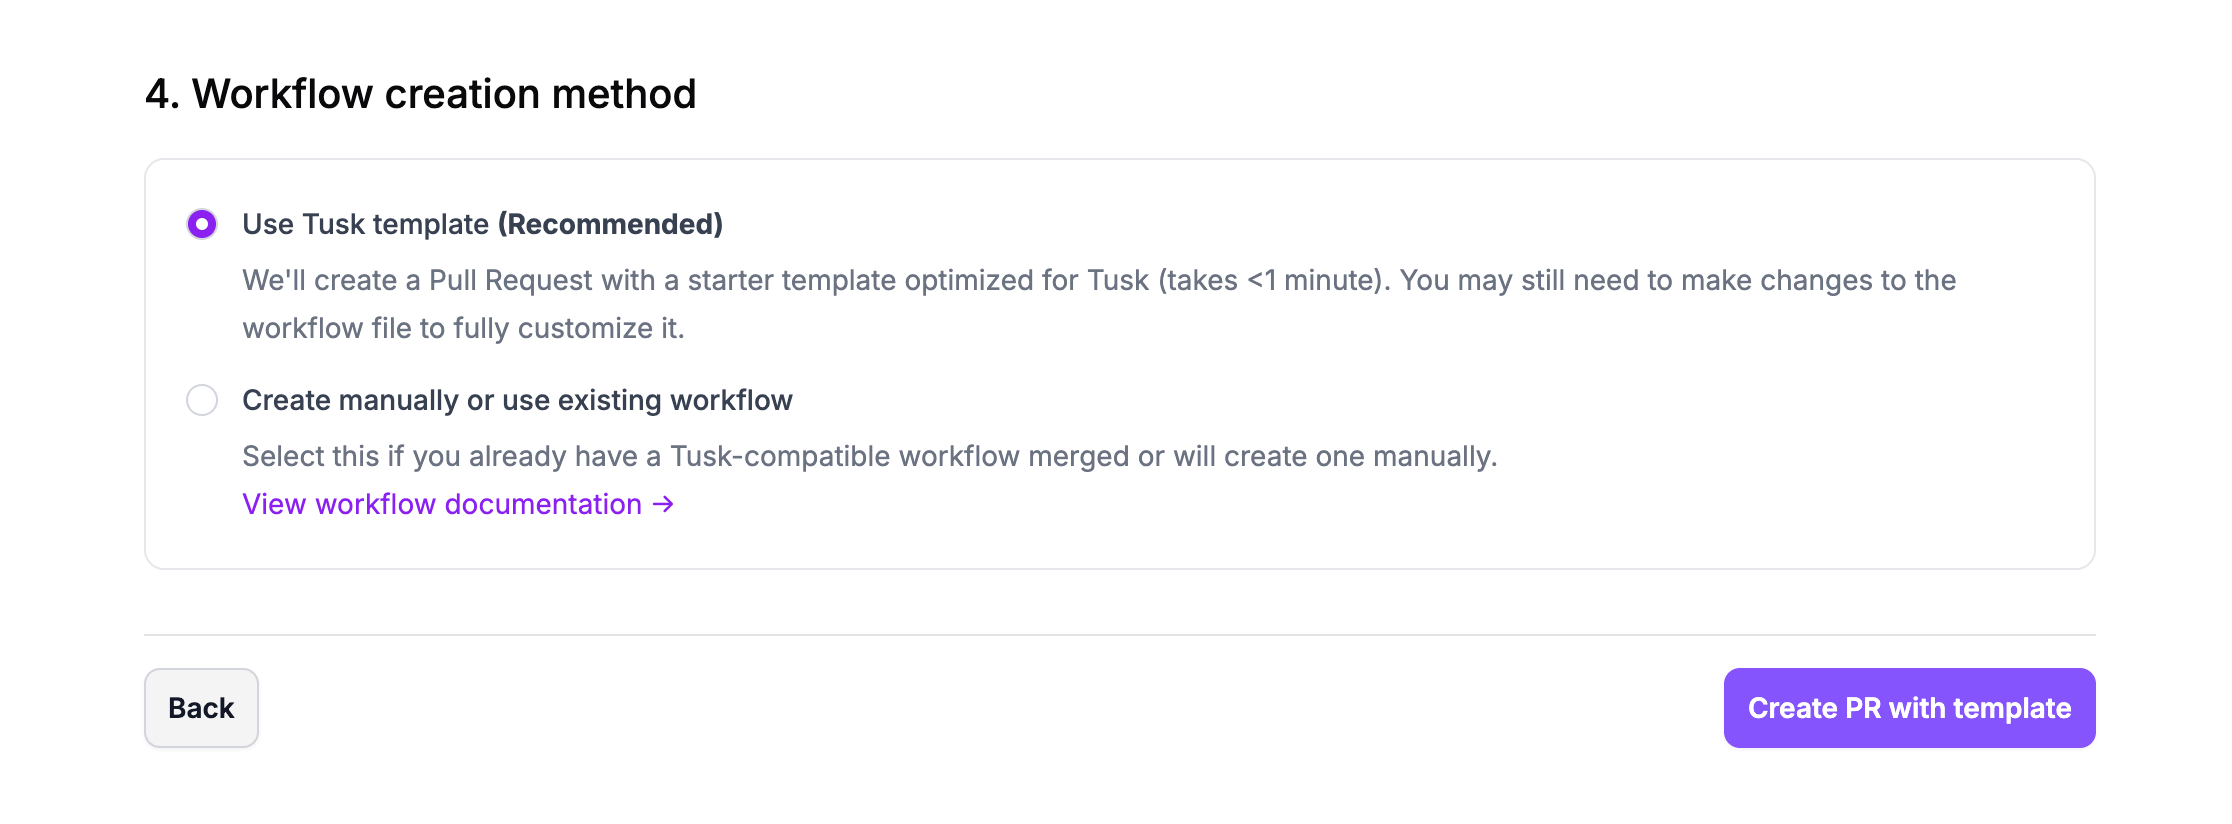 If you chose Option 1, click the URL to view the PR for the Tusk GitHub workflow. The workflow file will be tailored to your repo according to your configurations in the earlier steps.
**Note:** You may need to modify the workflow file to customize it to your project (e.g., setup steps, RegEx for matching test files). Refer to the comments in the workflow file itself as a guide for modifying the file. More details in [this FAQ](https://docs.usetusk.ai/automated-tests/self-hosted#what-modifications-do-i-need-to-make-to-the-tusk-github-workflow-template).
If you chose Option 1, click the URL to view the PR for the Tusk GitHub workflow. The workflow file will be tailored to your repo according to your configurations in the earlier steps.
**Note:** You may need to modify the workflow file to customize it to your project (e.g., setup steps, RegEx for matching test files). Refer to the comments in the workflow file itself as a guide for modifying the file. More details in [this FAQ](https://docs.usetusk.ai/automated-tests/self-hosted#what-modifications-do-i-need-to-make-to-the-tusk-github-workflow-template).
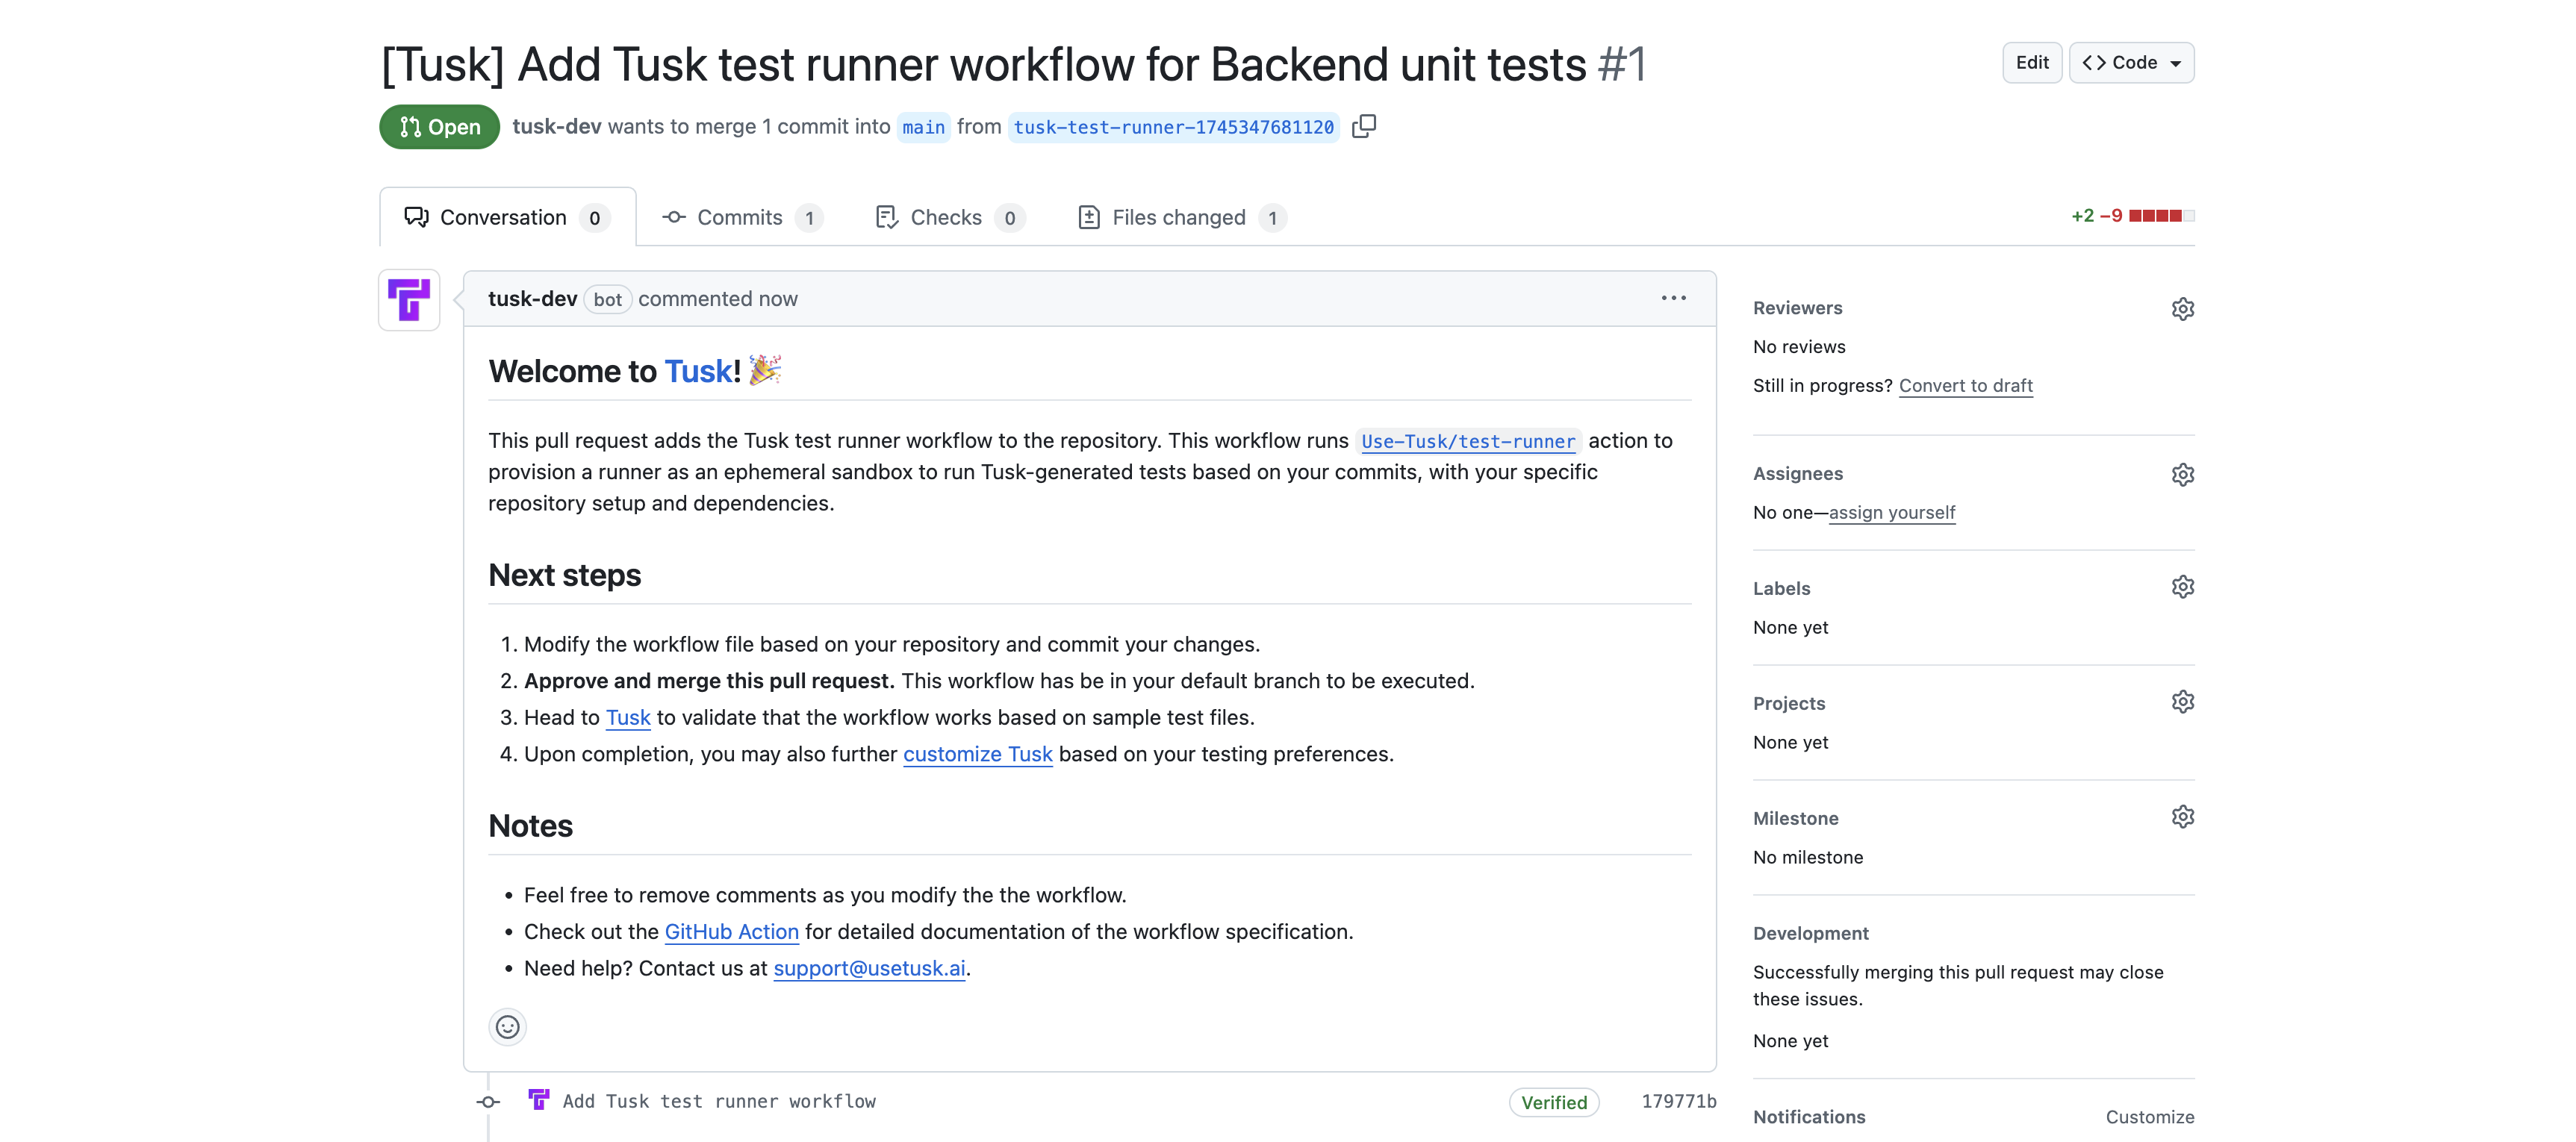 In the Tusk set-up wizard, create an API key under the "Confirm Tusk API Key" section. Make sure to copy the API key on first creation and **add it to your repo's secrets**.
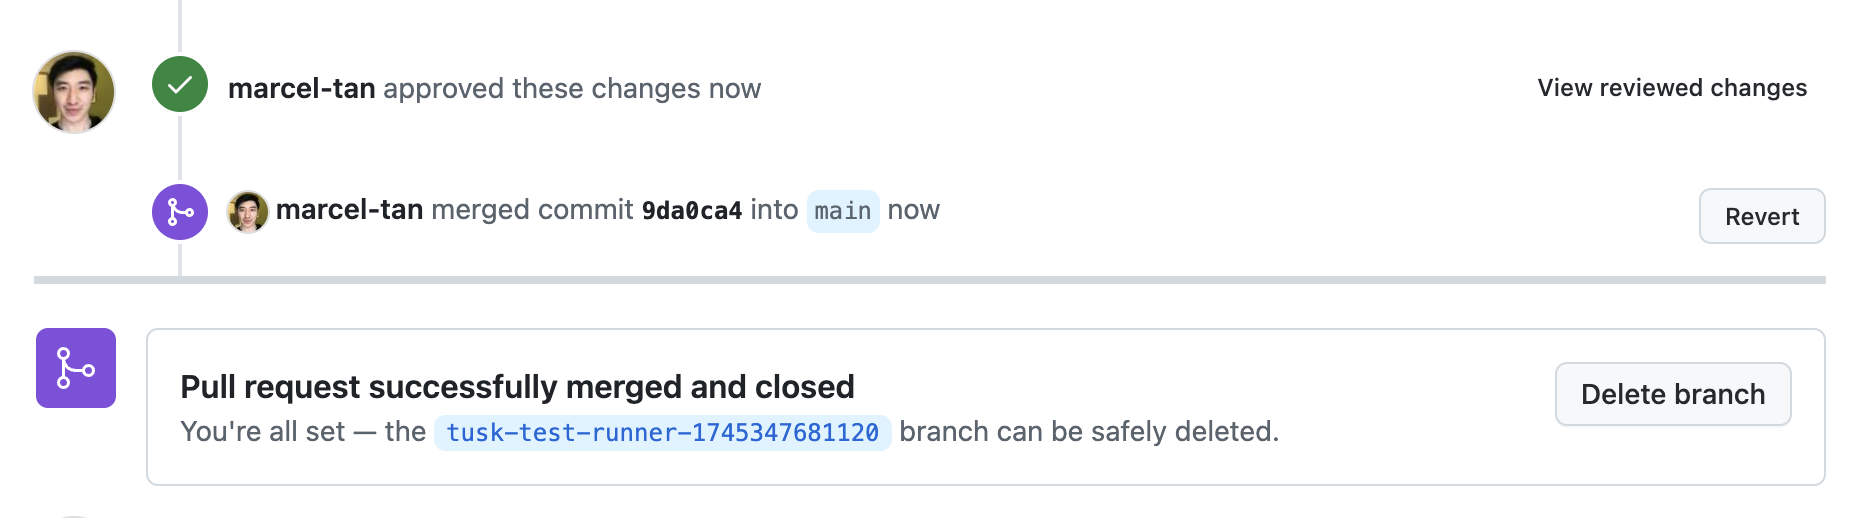
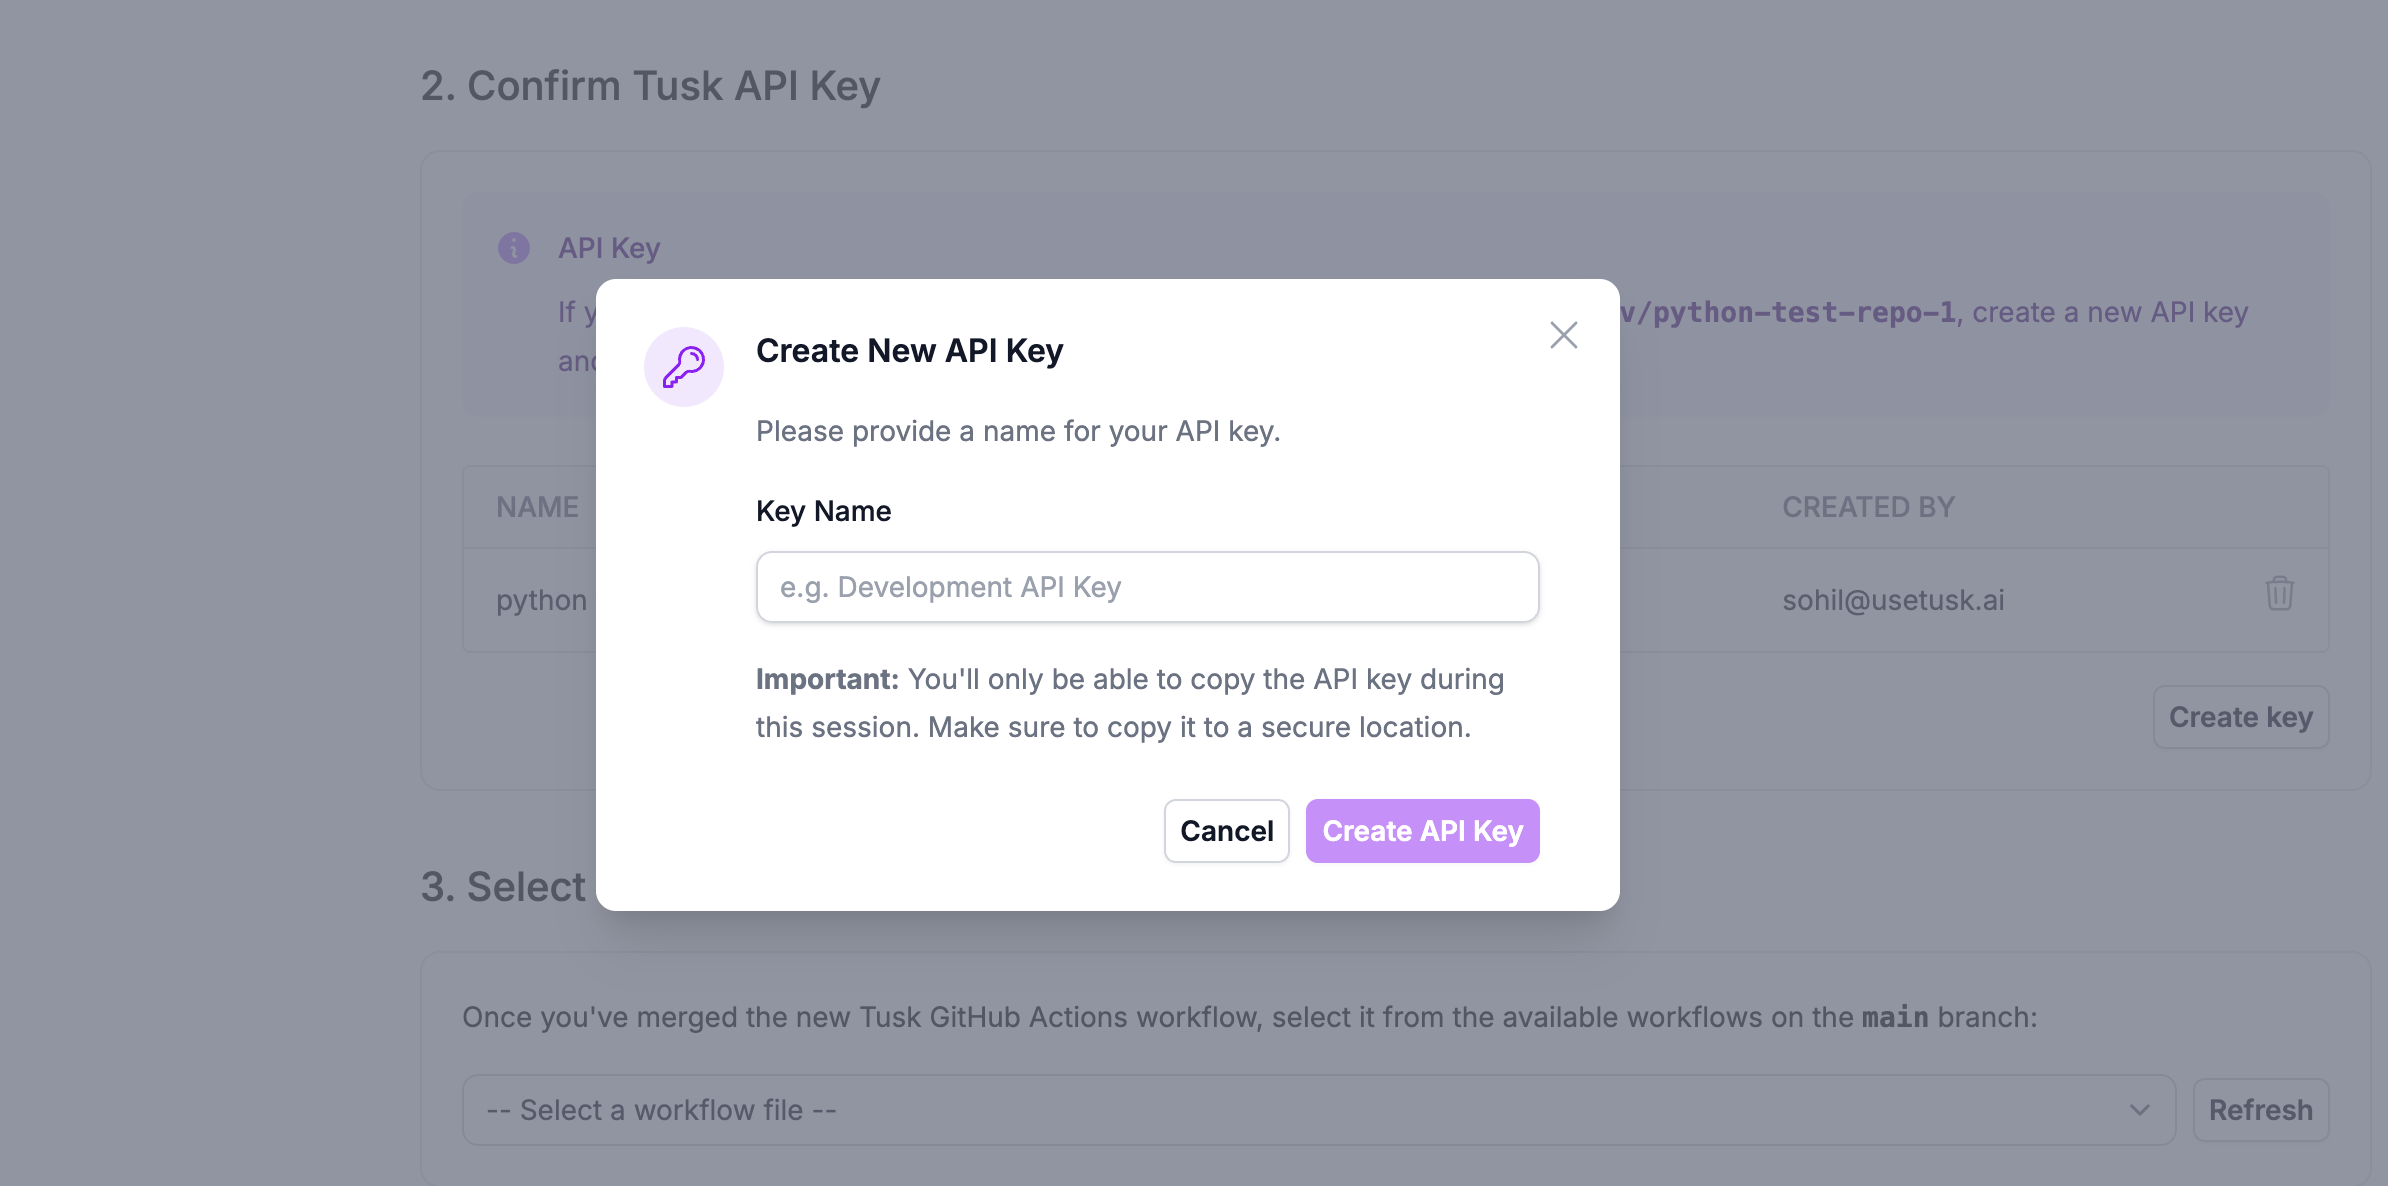 Once you've reviewed and approved the Tusk GitHub workflow PR, merge the PR into your default branch.
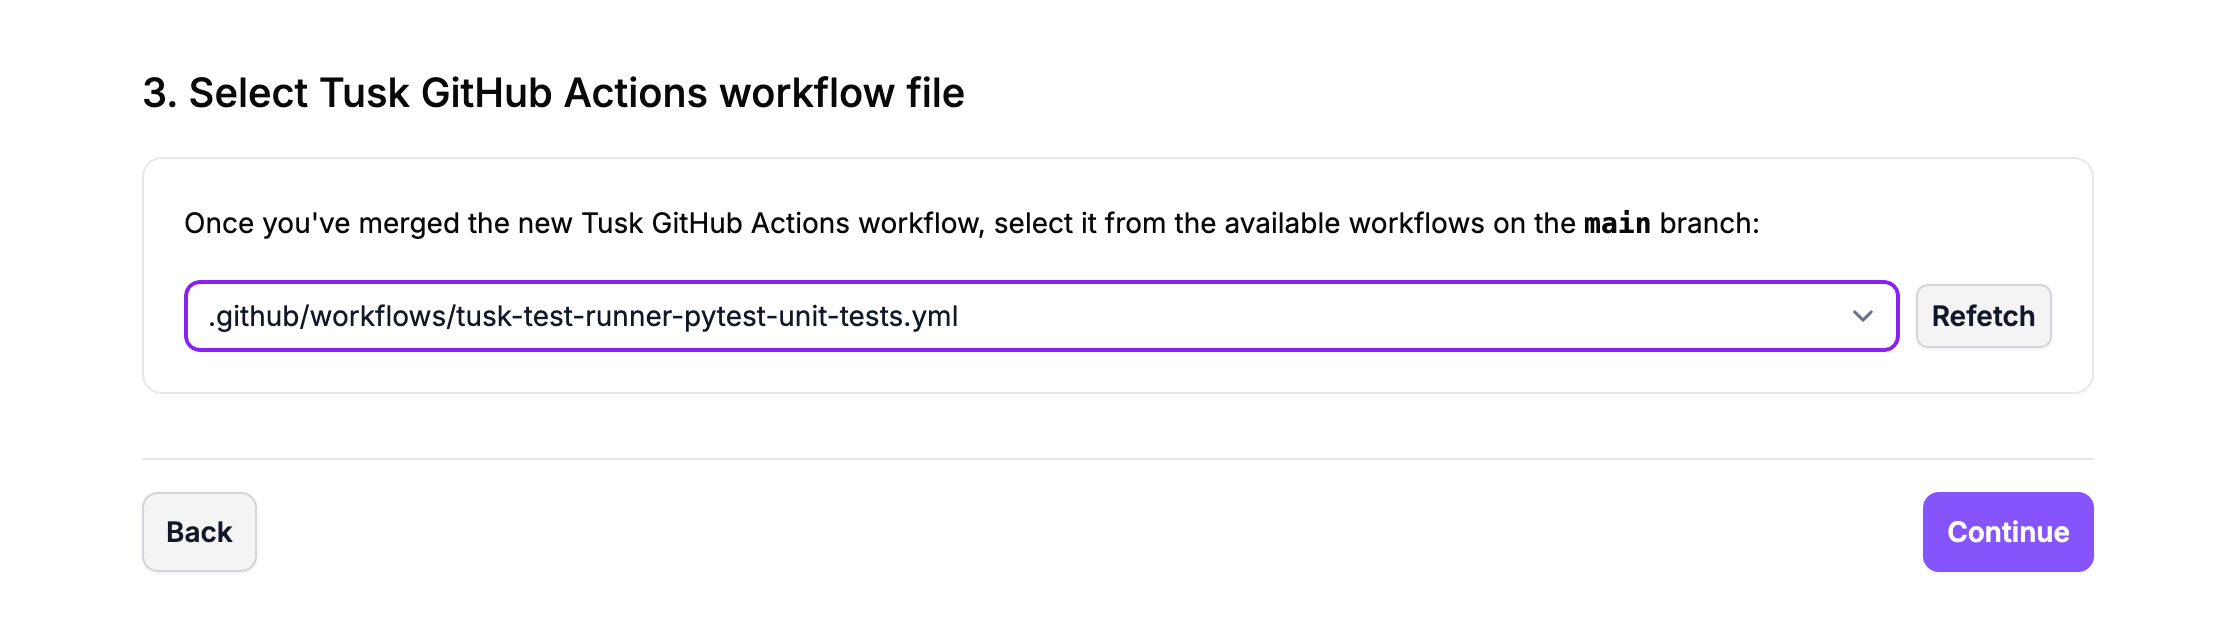
 In the Tusk set-up wizard, click **Refetch** under the "Select workflow" step. Then, select the Tusk GitHub workflow file you just merged. Click **Continue**.
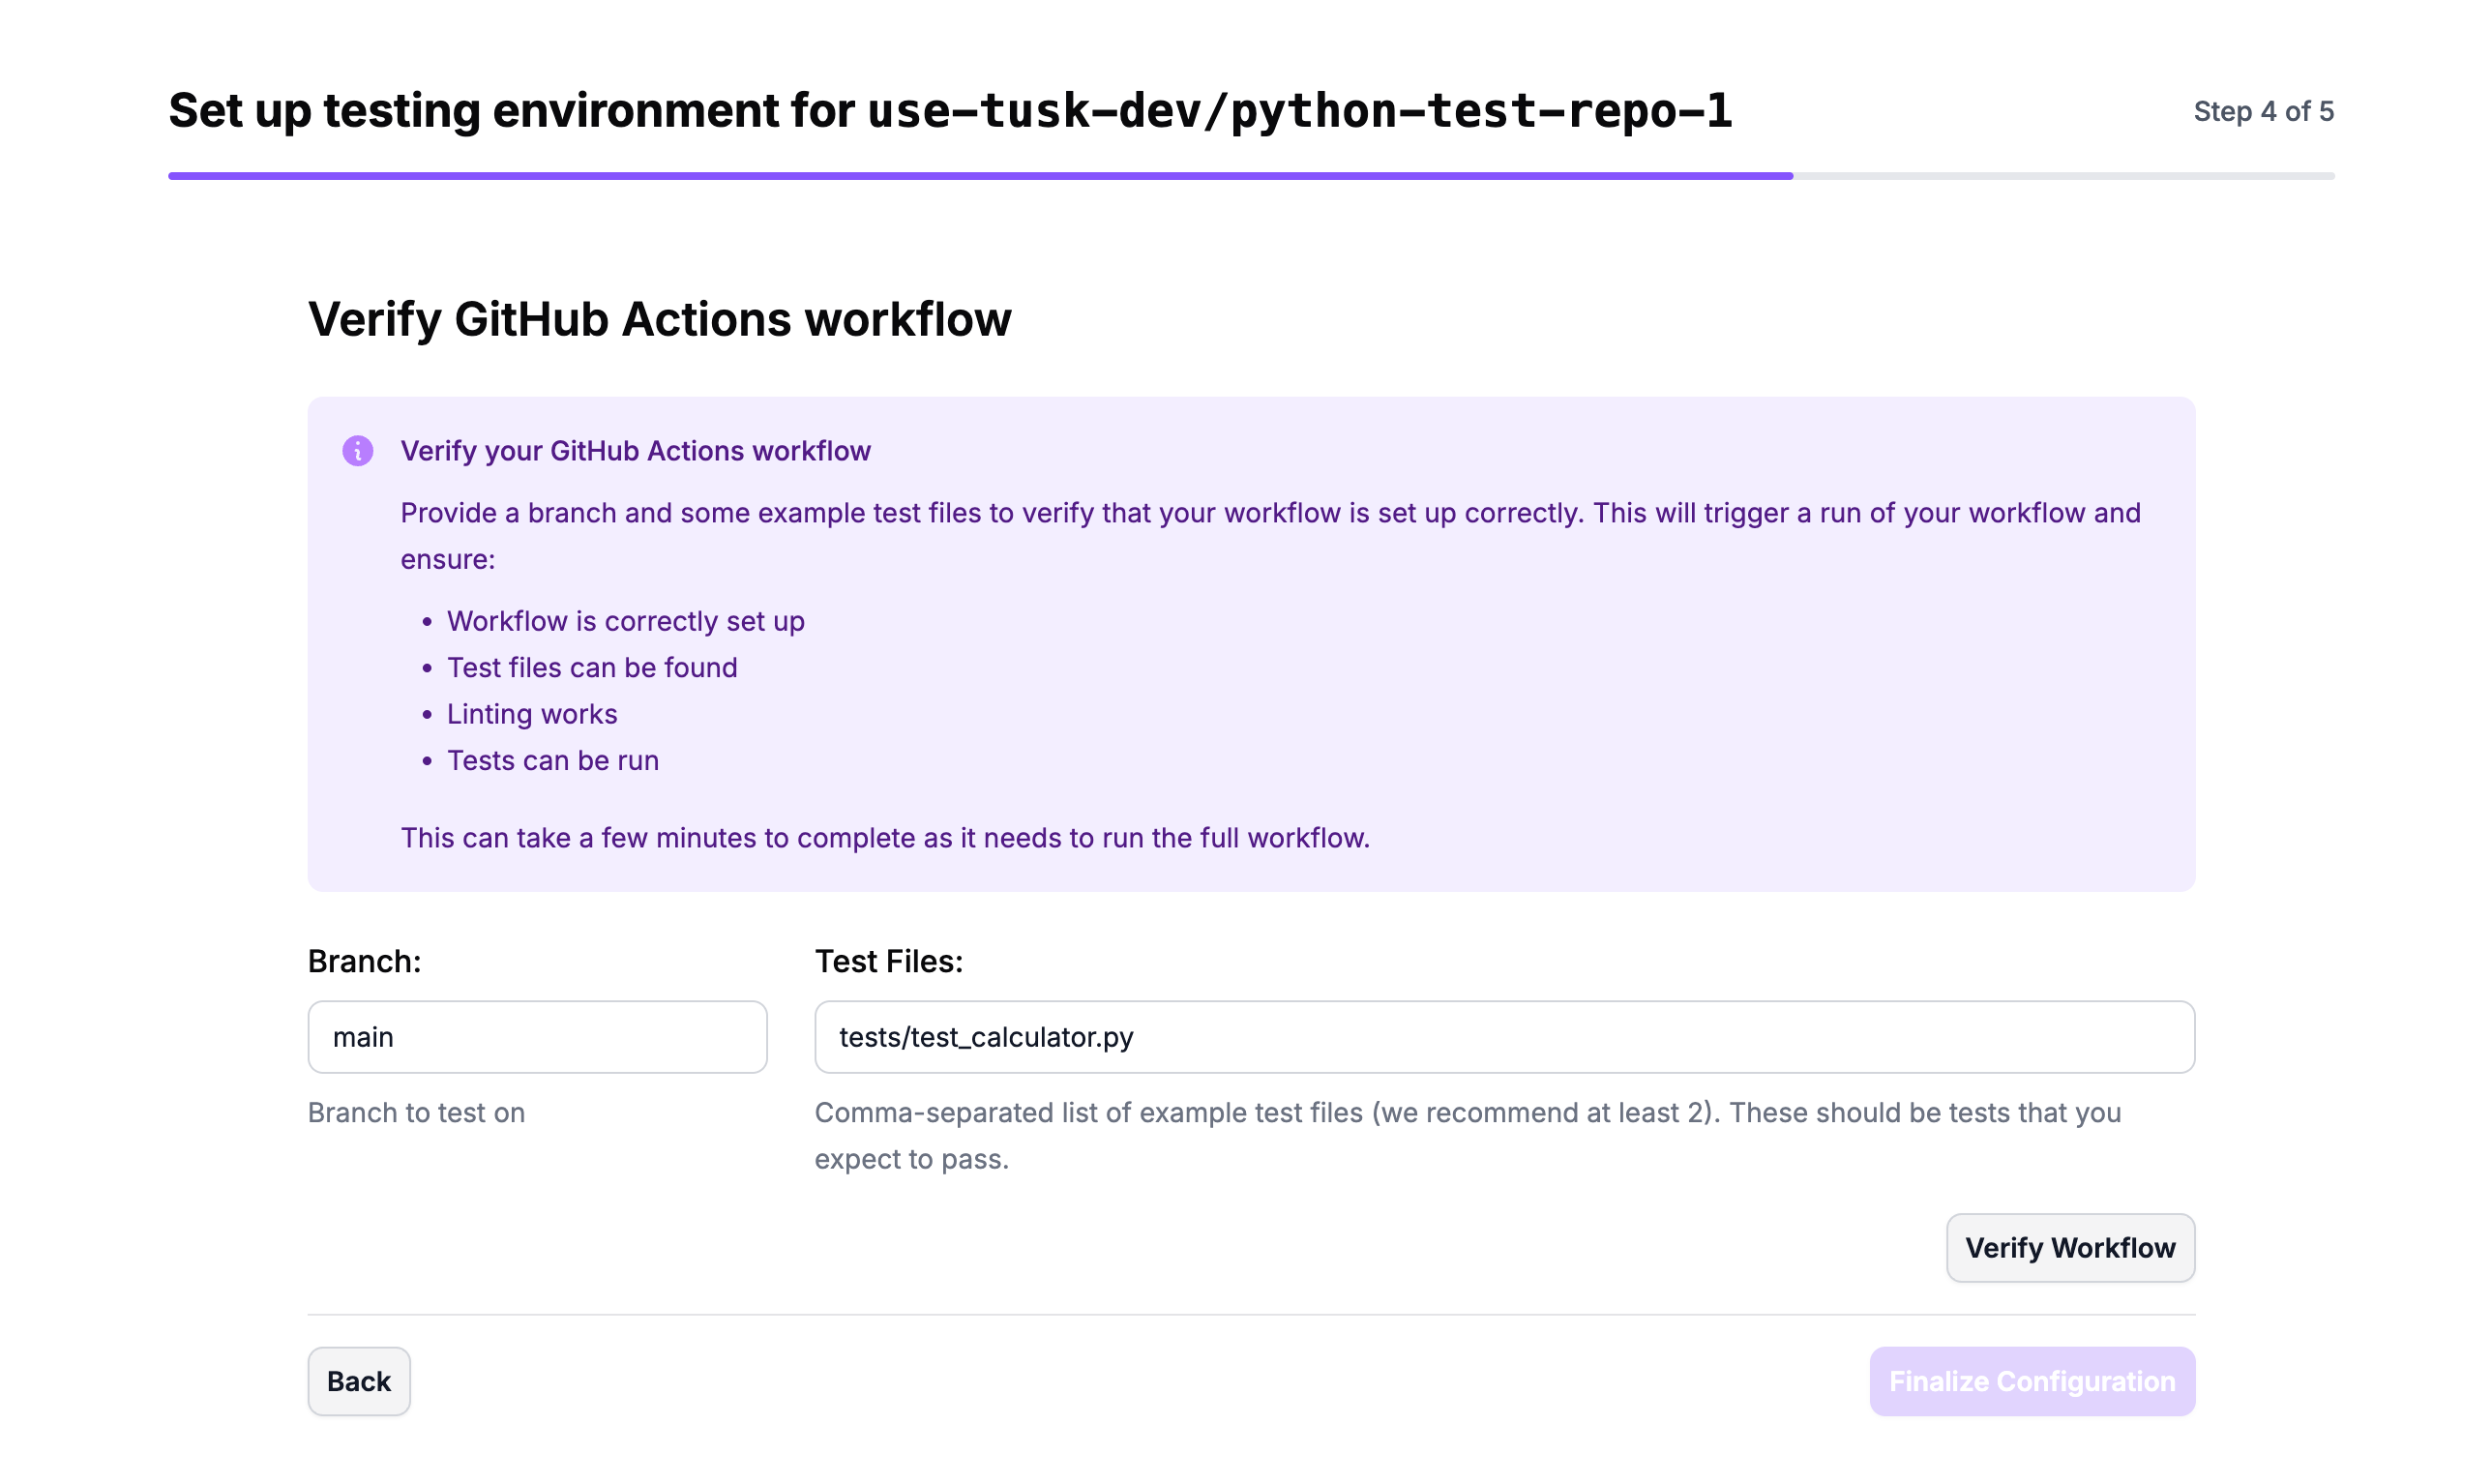
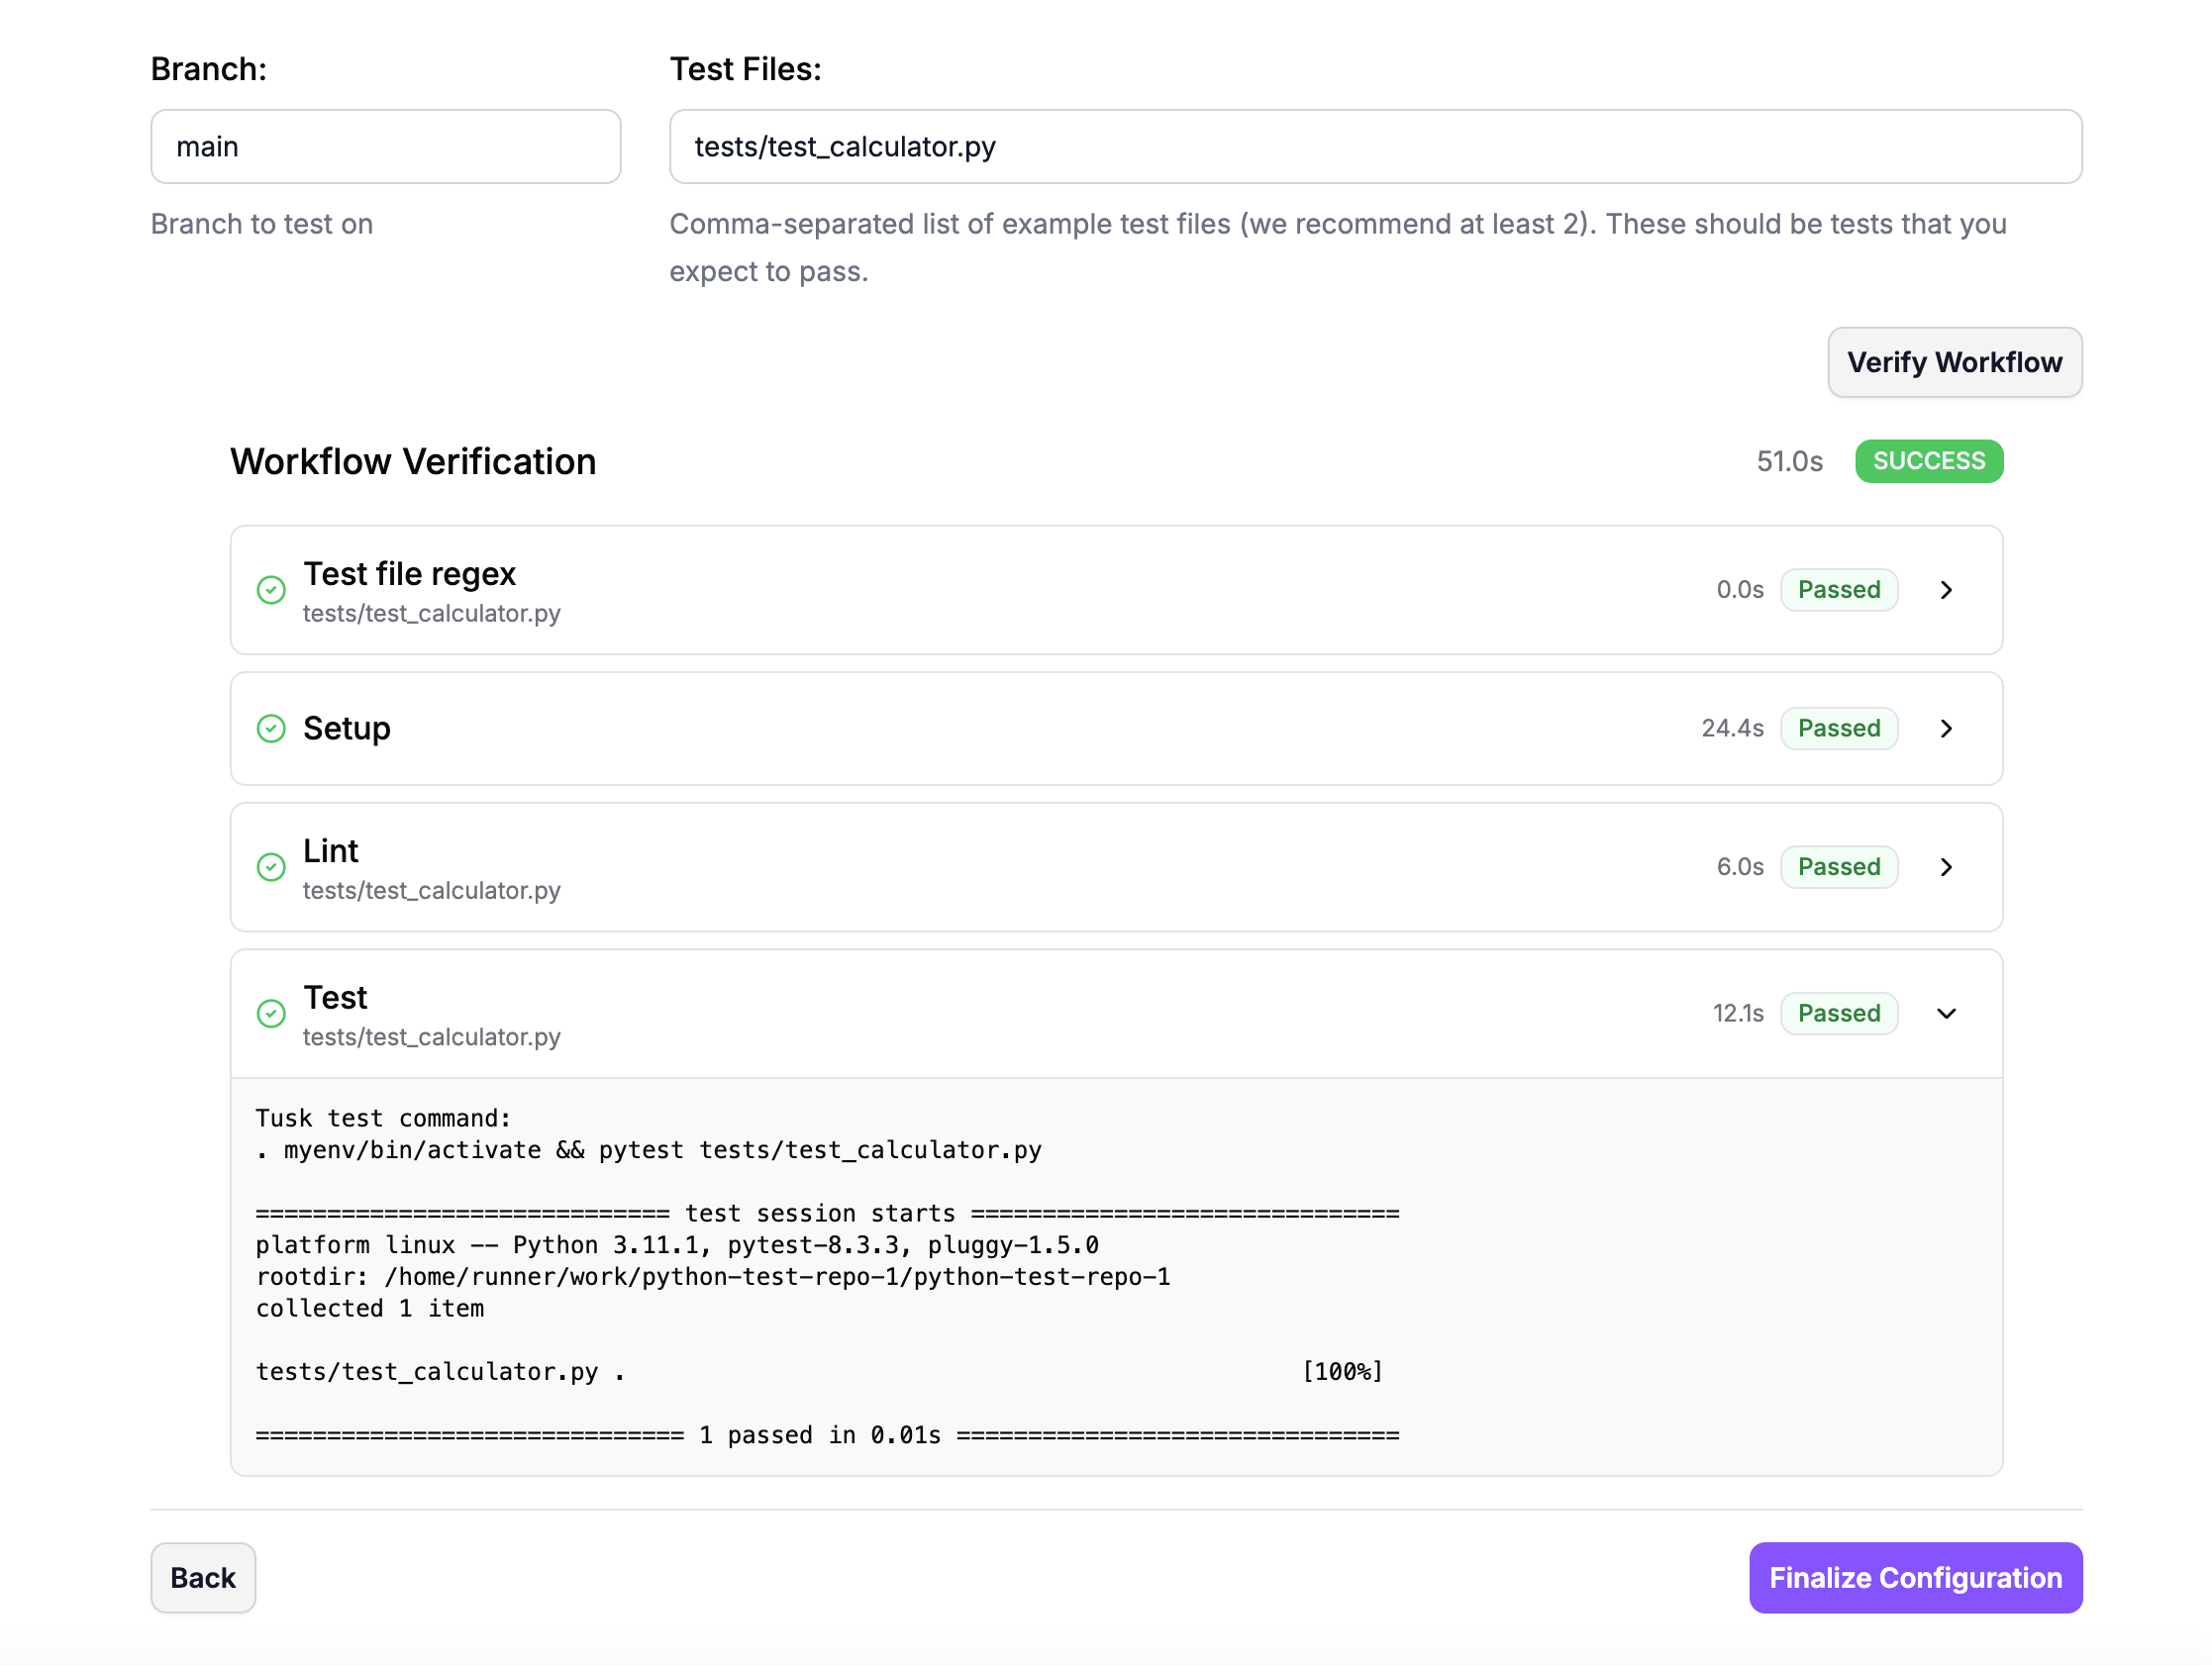
 Choose the branch to test the Tusk GitHub workflow on and then paste in file paths of existing test files in the repo. We recommend including at least 2 test files (use comma-separated values).
 Click **Verify workflow** to run the test run. You should see Tusk attempt to verify that the workflow runs as expected.
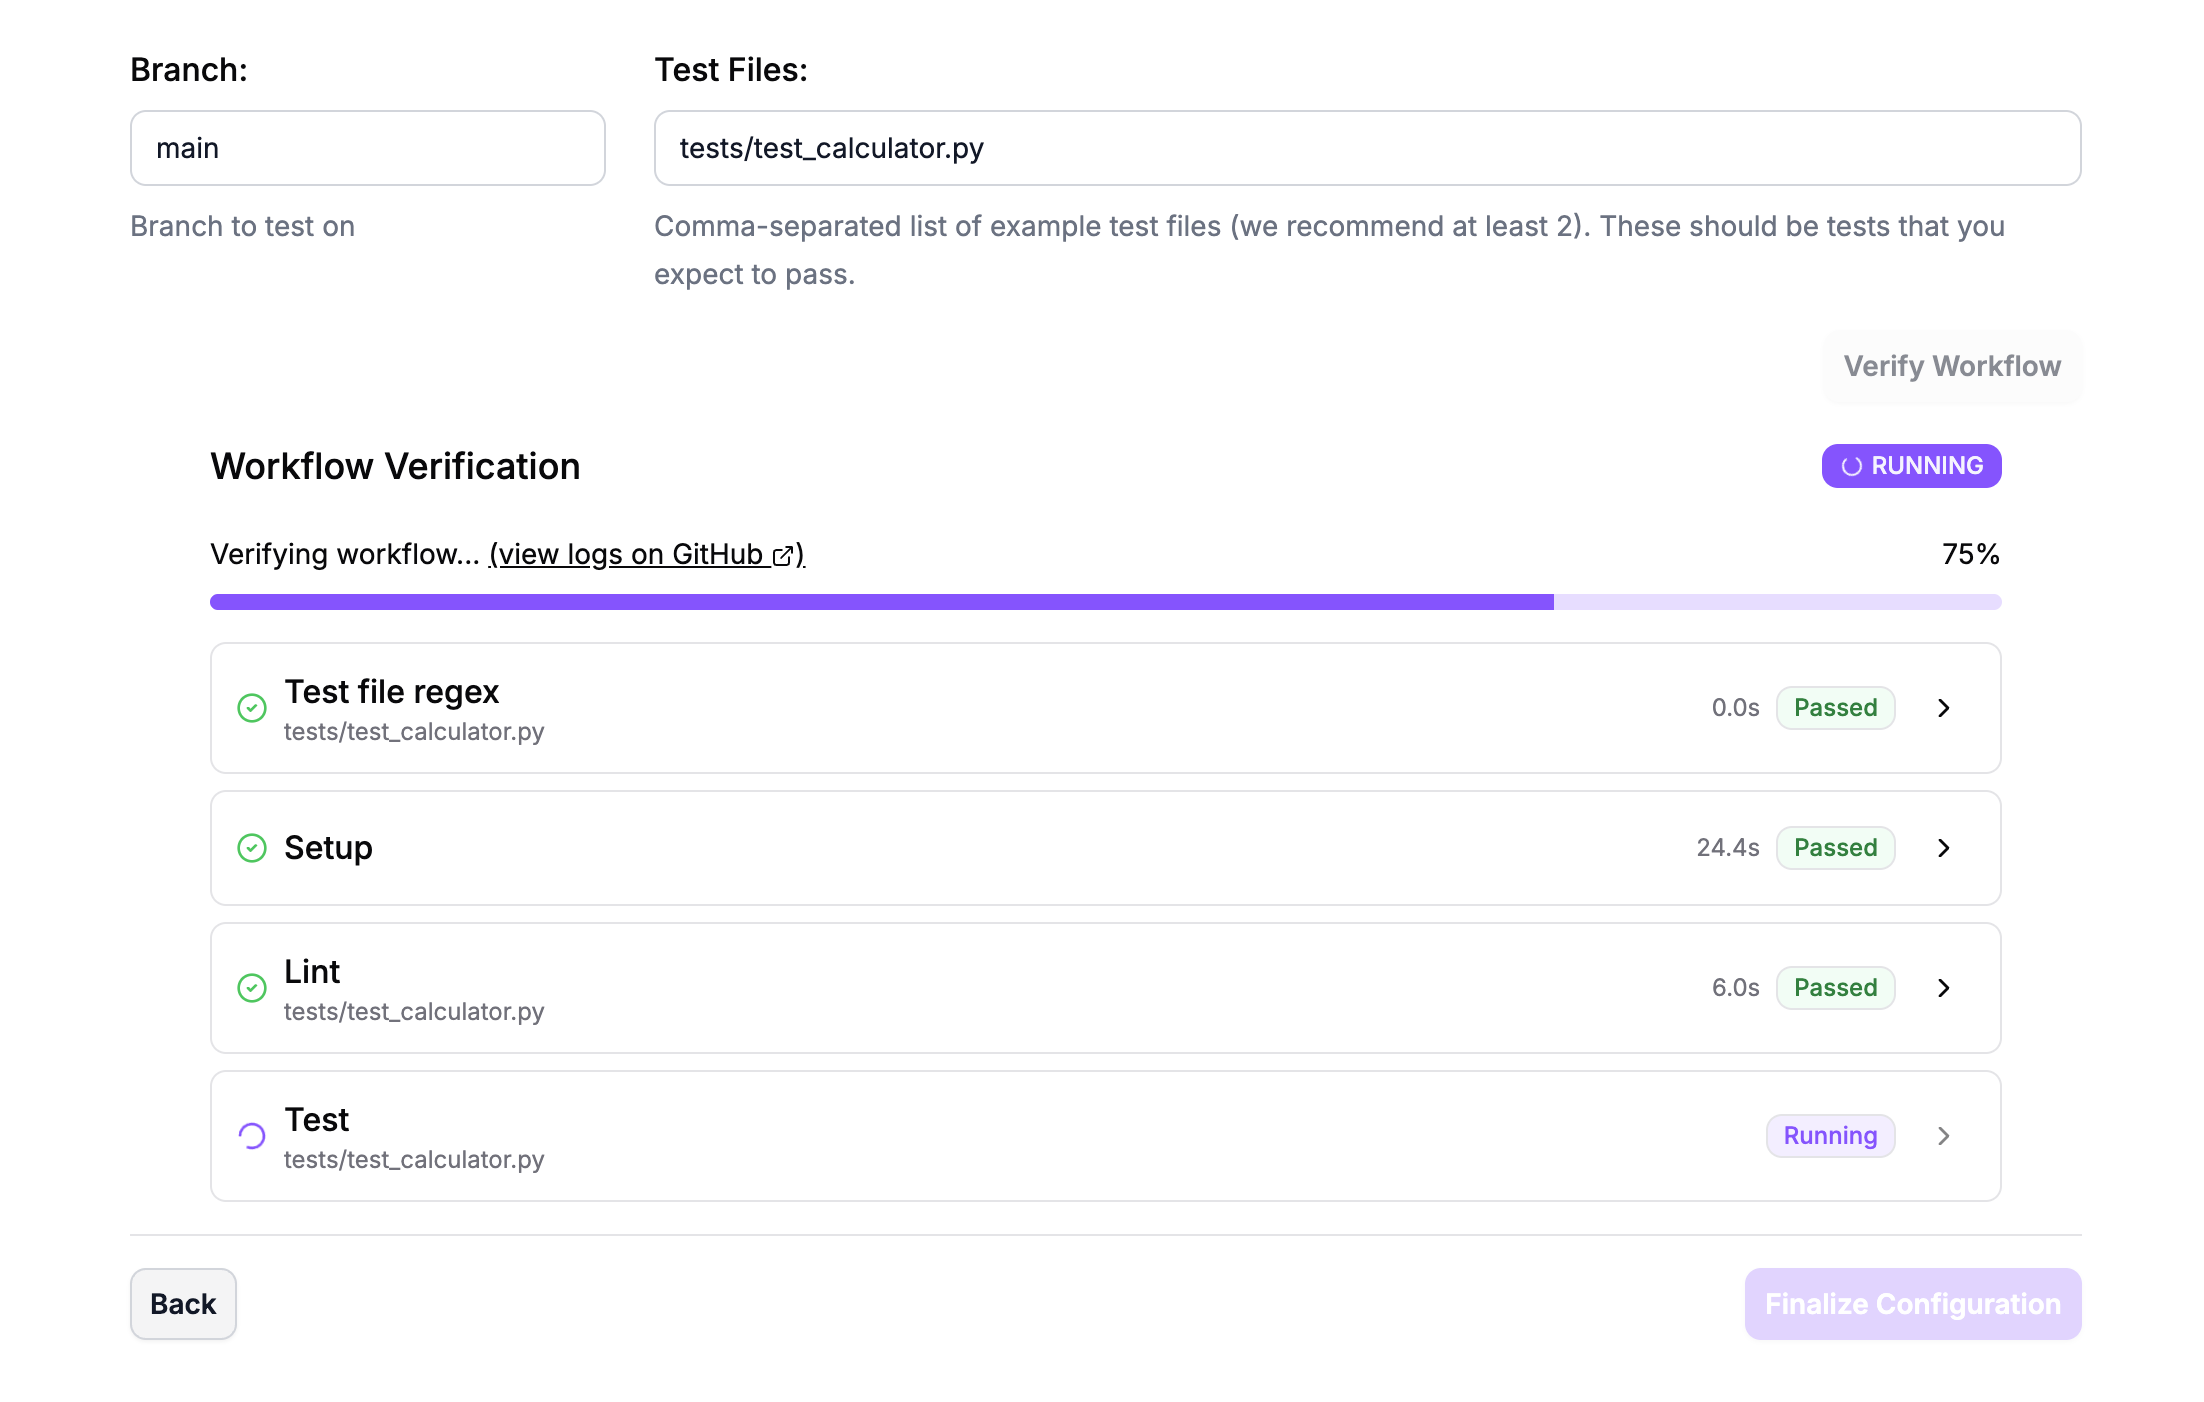 Click **Finalize configuration** once the Tusk GitHub workflow passes all steps.
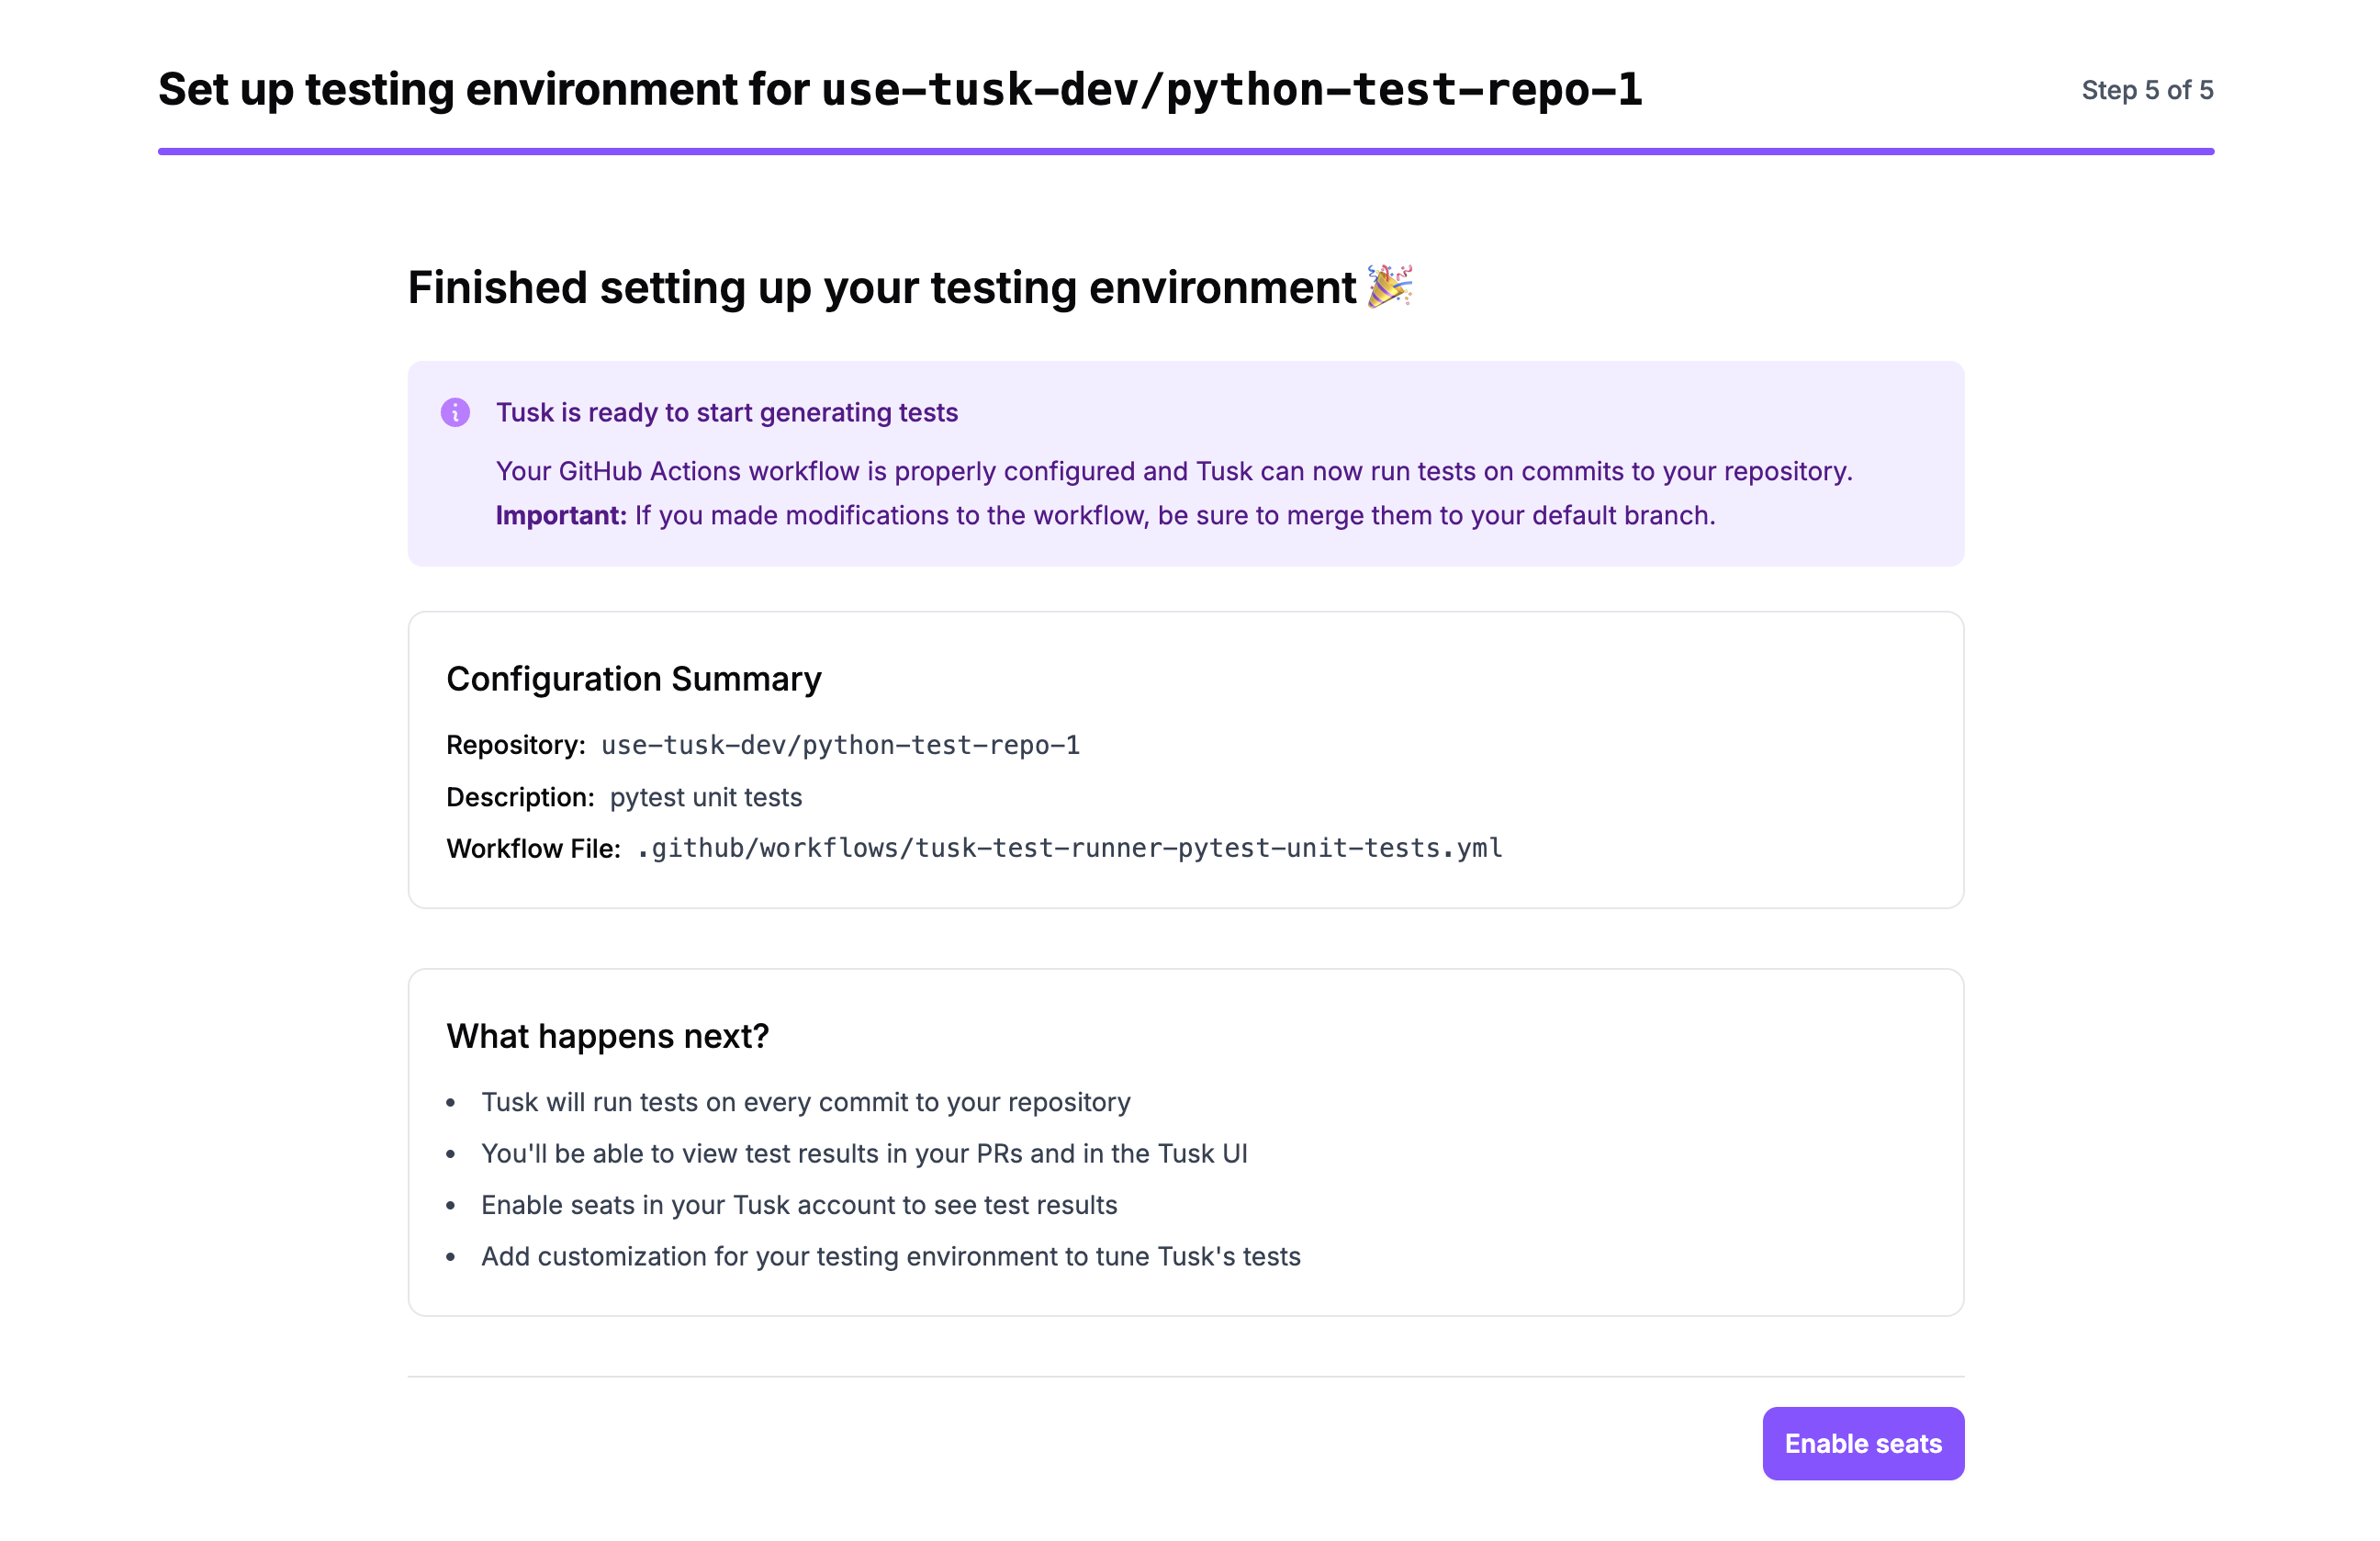
 Now, **enable seats** to start seeing Tusk's test generation on your PRs.
 ## FAQs
You will be prompted to make modifications to the workflow template via comments in the workflow file itself. They include but are not limited to:
* Setup steps that are specific to your project
* Tusk API key
* appDir relative to the root of the repo if the workflow is for a monorepo containing multiple services
* Test framework used (e.g., pytest, Jest)
* RegEx to match all test files in the services
* Script to run to lint the code
* Script to run to test the code
It refers to the directory containing your service code. If you have a monorepo containing multiple services, create a separate workflow for each service with a different (and non-overlapping) appDir. appDir should be relative to the root of the repo.
Remove appDir if it doesn't apply to your repo (i.e., it is a single-service repo).
GitHub doesn't let you run workflows that don't exist on the default branch. See [GitHub docs](https://docs.github.com/en/actions/writing-workflows/choosing-when-your-workflow-runs/events-that-trigger-workflows#workflow_dispatch) for `workflow_dispatch`:
> This event will only trigger a workflow run if the workflow file exists on the default branch.
1. Create a new branch in your repo
2. Make necessary changes to the workflow file to fix the issues
3. Push your changes to the branch
4. Return to the Tusk set-up wizard and retry verification (make sure to provide the correct branch above)
5. Merge the branch into your default branch
## FAQs
You will be prompted to make modifications to the workflow template via comments in the workflow file itself. They include but are not limited to:
* Setup steps that are specific to your project
* Tusk API key
* appDir relative to the root of the repo if the workflow is for a monorepo containing multiple services
* Test framework used (e.g., pytest, Jest)
* RegEx to match all test files in the services
* Script to run to lint the code
* Script to run to test the code
It refers to the directory containing your service code. If you have a monorepo containing multiple services, create a separate workflow for each service with a different (and non-overlapping) appDir. appDir should be relative to the root of the repo.
Remove appDir if it doesn't apply to your repo (i.e., it is a single-service repo).
GitHub doesn't let you run workflows that don't exist on the default branch. See [GitHub docs](https://docs.github.com/en/actions/writing-workflows/choosing-when-your-workflow-runs/events-that-trigger-workflows#workflow_dispatch) for `workflow_dispatch`:
> This event will only trigger a workflow run if the workflow file exists on the default branch.
1. Create a new branch in your repo
2. Make necessary changes to the workflow file to fix the issues
3. Push your changes to the branch
4. Return to the Tusk set-up wizard and retry verification (make sure to provide the correct branch above)
5. Merge the branch into your default branch