Overview
We’ve released Automated Browser Testing, a feature which allows Tusk to automatically verify that its changes work and provide screenshots of the test in its pull request (PR) to make reviews smoother.
To use this feature, we require you to record a Jam video showing how to get to the location of the UI change or how to replicate a bug.
Tusk uses the Jam video’s visual and audio input, along with the console logs, to help it browse through your web app and test the change that was made.
Before You Begin
You need to make sure that you have:- Tusk account with a repo for a web app synced
- Jam account with their browser extension installed
- Jam has a free plan with unlimited recordings (up to 2 seats). Currently supports Chrome, Edge, Arc, Brave, and Opera.
- Jam recordings set to be public links
- Preview environment for the frontend deployed on each PR
- You can deploy a preview env with Vercel, Firebase, Heroku, AWS Amplify, etc.
- Preview env should point to a shared backend
- Preview env should be auto-updated with each new commit to the PR
- Provided the Tusk team with log-in credentials for our agent to log in to the preview env
- Ideally, this should be a username and password. Otherwise, we’ll work with you to create custom logic.
- Credentials should be for a user associated with a dev organization that has sufficient dummy data
Reach out to [email protected] to confirm that your preview environment configs are set up before trying out Automated Browser Testing.
Recording the Video
Here’s a step-by-step guide on recording the video in a way that allows Tusk to test its changes to the best of its ability.- Log into the dev organization that Tusk can access with the log-in credentials provided
- Ideally, log in using the credentials that you’ve provided to Tusk to make it easier for Tusk to replicate the steps to test the change
- Navigate to the page in the app where the change has to be made
- Refresh the page to clear browser state
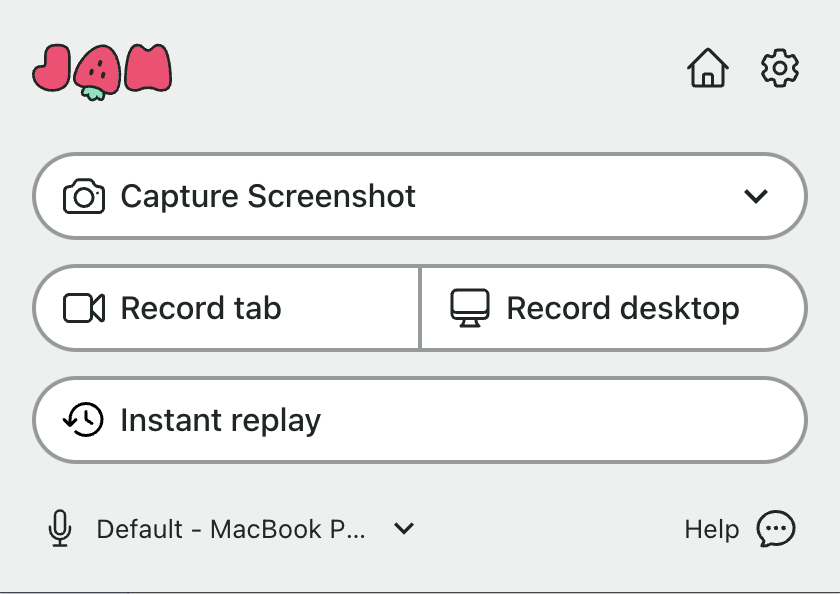
- Click on the Jam extension on your browser toolbar

- Turn on your mic in the Jam extension
- Click Record tab to share your current screen
- While recording, show where the UI change should be made on the page and talk about what the current state and expected state is. If it is a bug, go through the steps to replicate the bug while narrating. Keep the video under 1 minute.
- Stop the recording once done
- Give the Jam recording a written description
- Create an issue directly in your ticketing app or create a shareable link