- GitHub
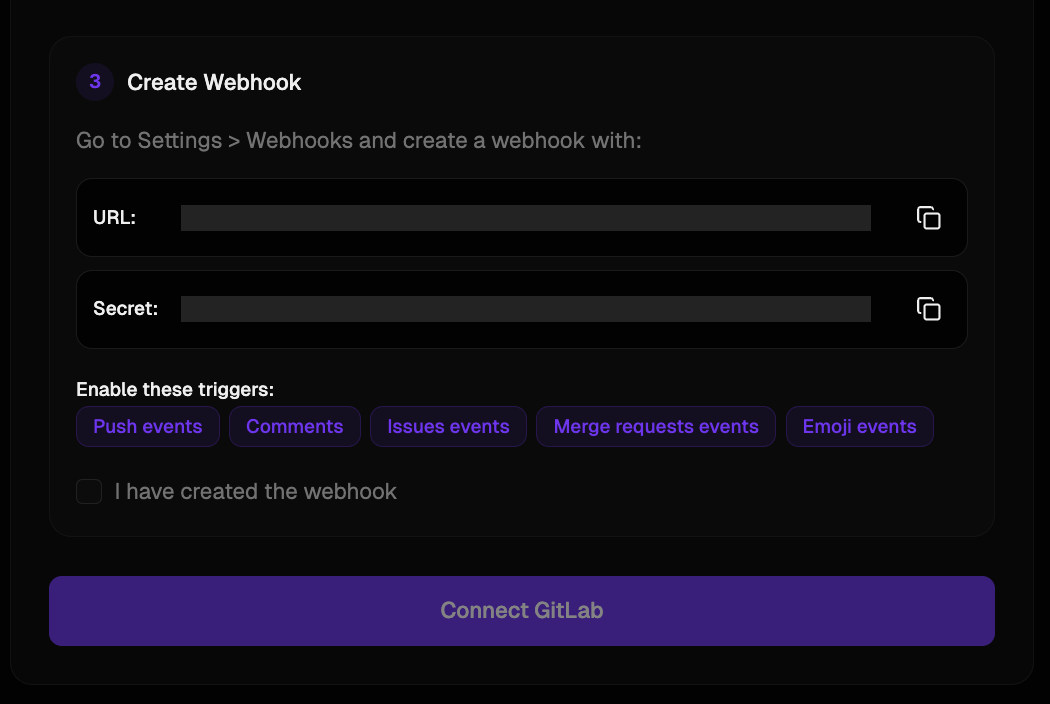
- GitLab
GitHub user permissions to manage external apps in your GitHub organization
Creating an organization
1
Create an account
Sign up to Tusk with Google, GitHub, GitLab, or with email/password. If you create an account with your company’s Google Workspace, Tusk will create an organization for your company.
2
Enter profile details
Fill out your profile and organization details to personalize your experience.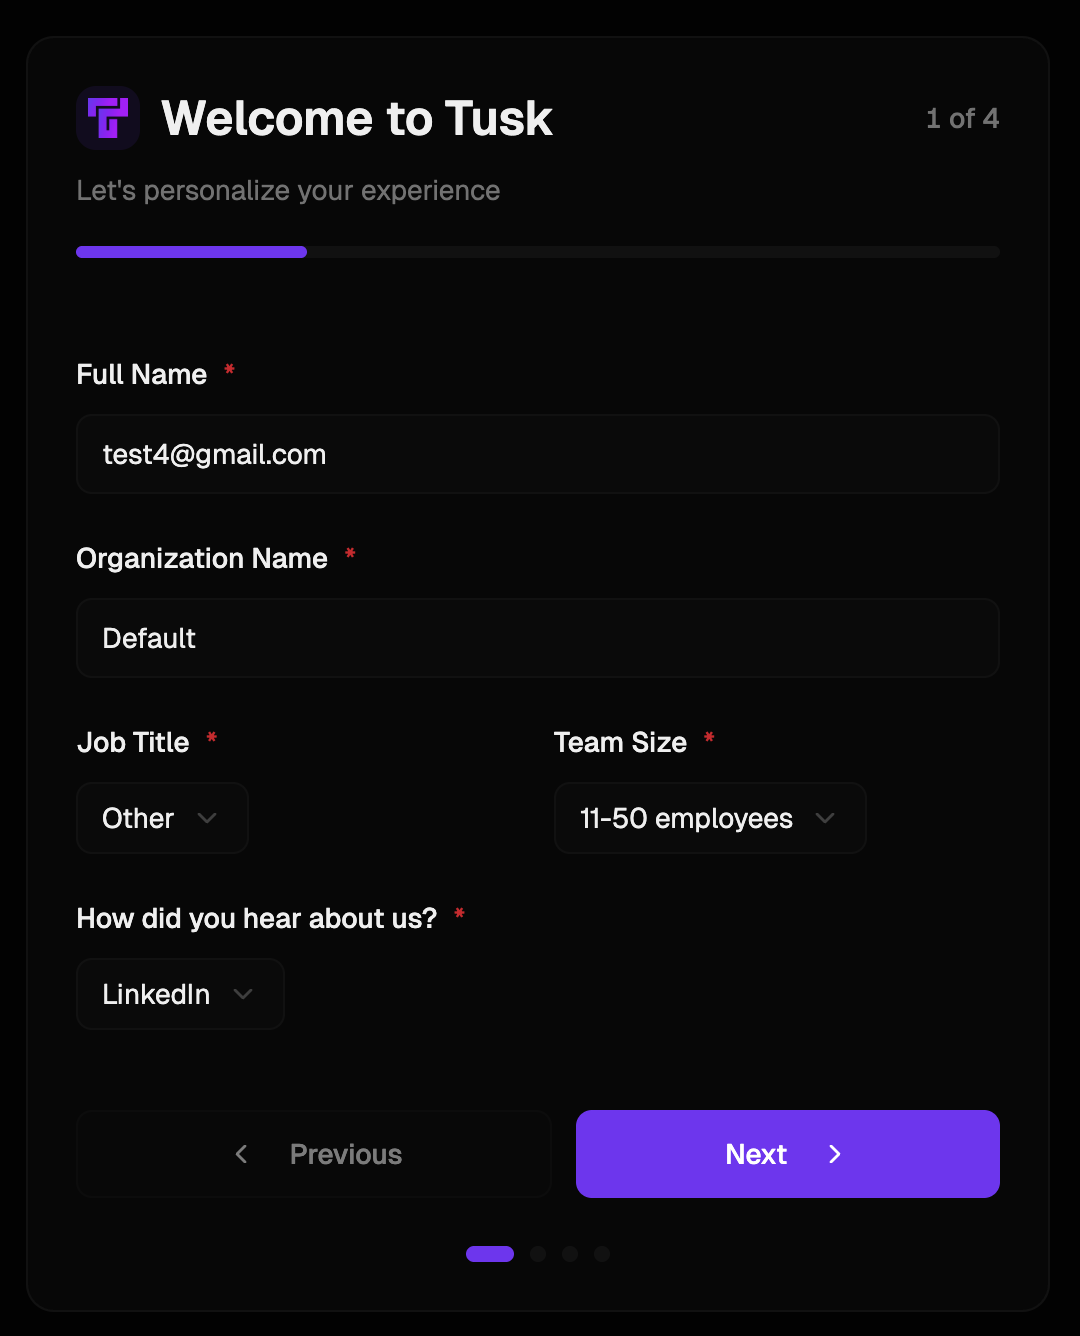
3
Choose use case
Select your primary use case. This directs you to your ideal onboarding flow.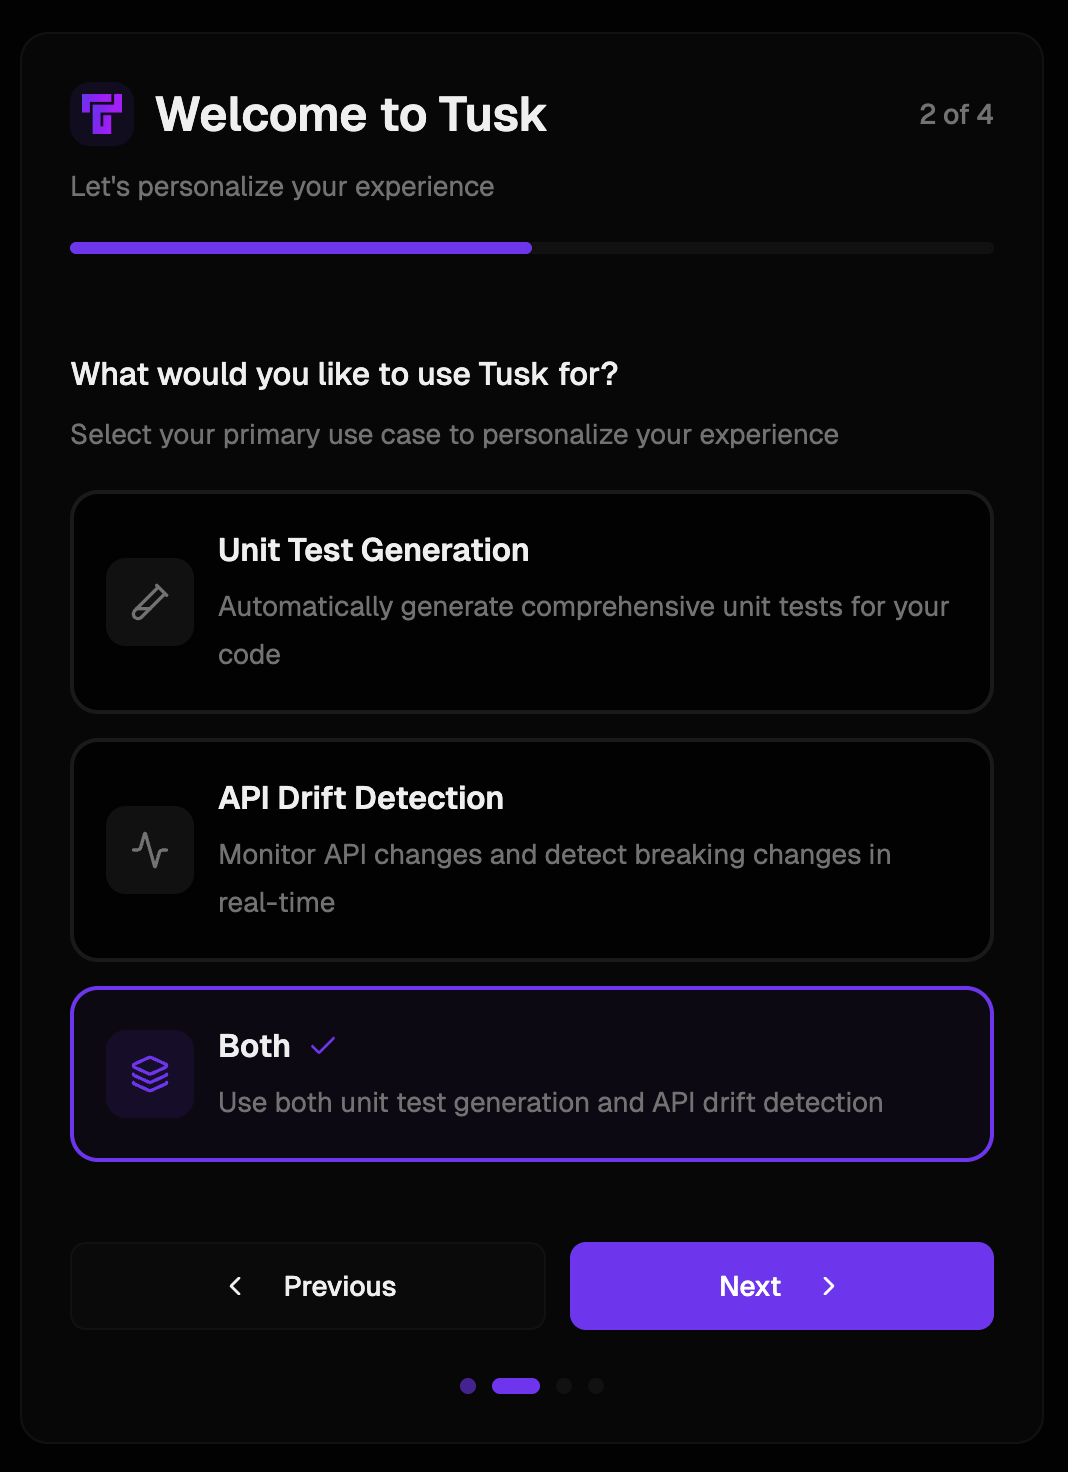
Connect version control platform
- Connect GitHub
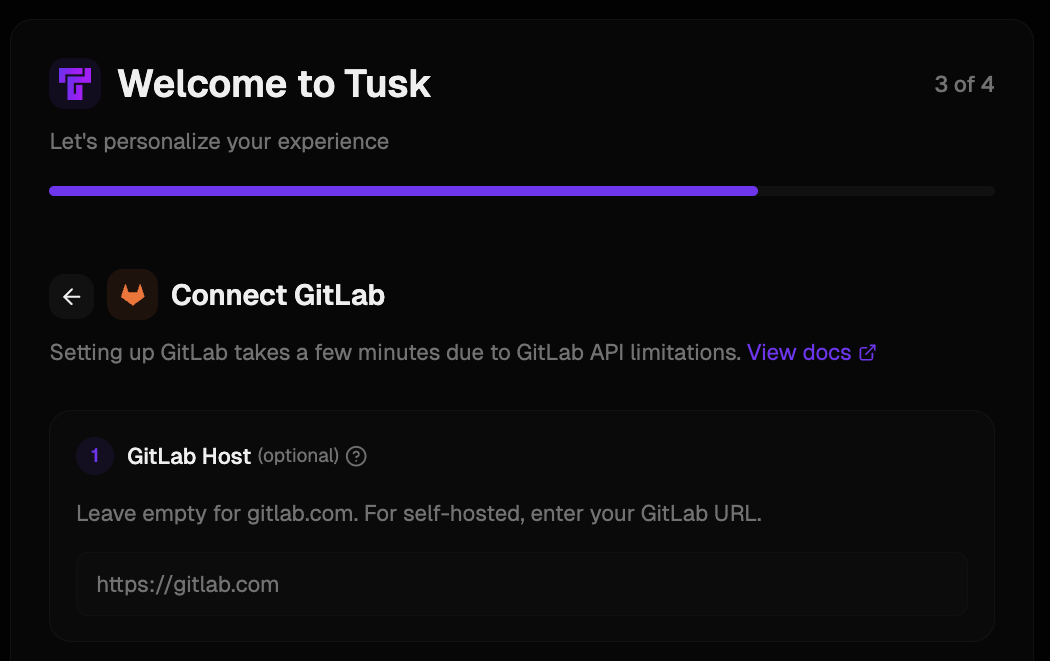
- Connect GitLab
1
Select GitHub in screen
Click the GitHub card in the onboarding wizard.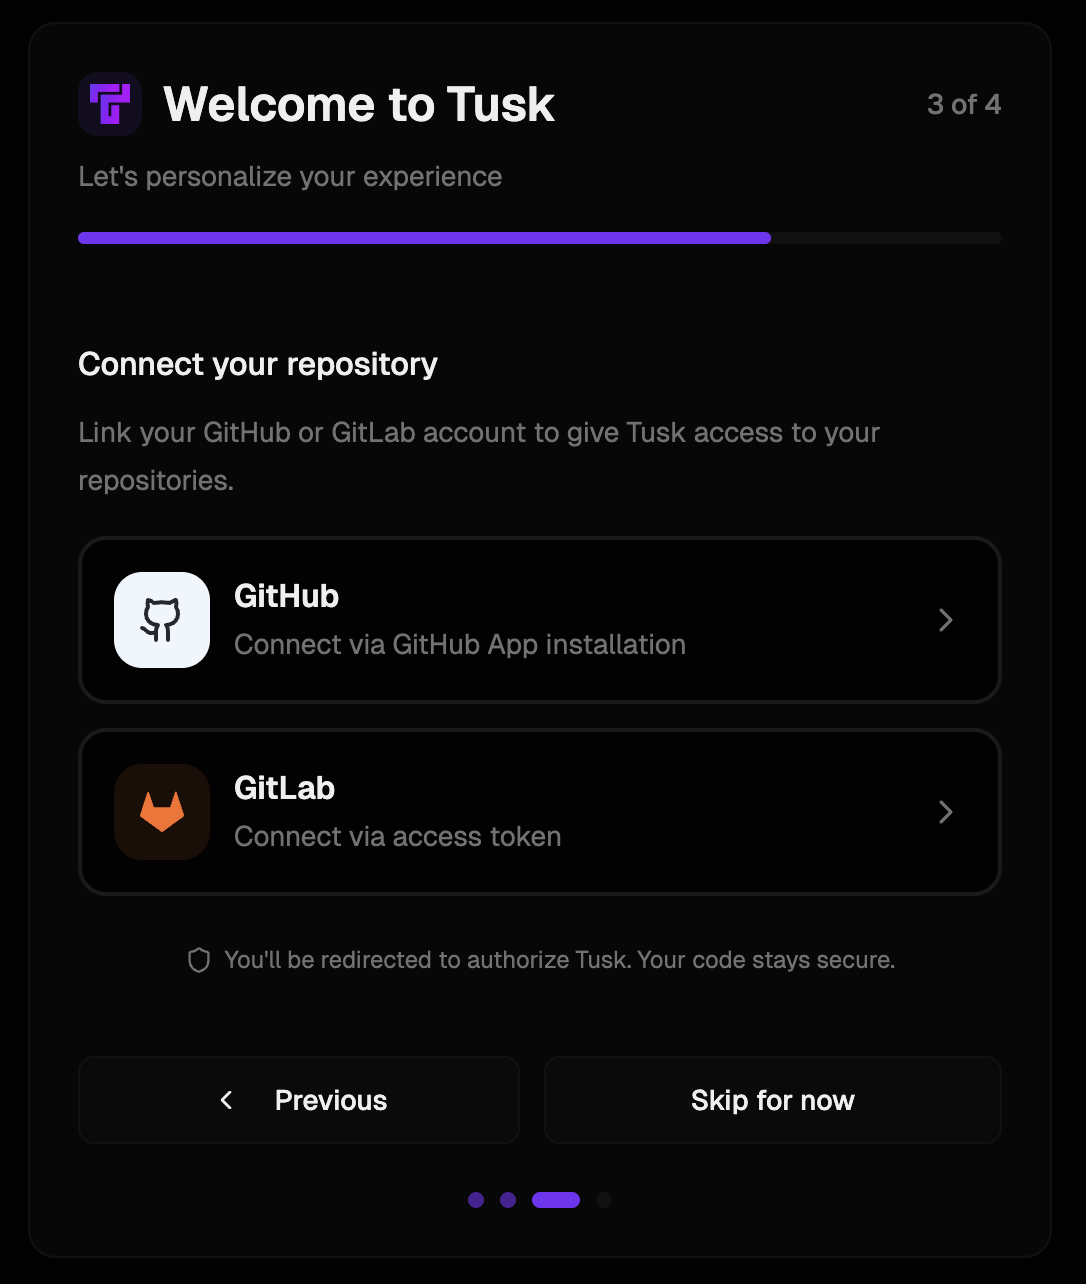
2
Select organization
Click on your GitHub organization.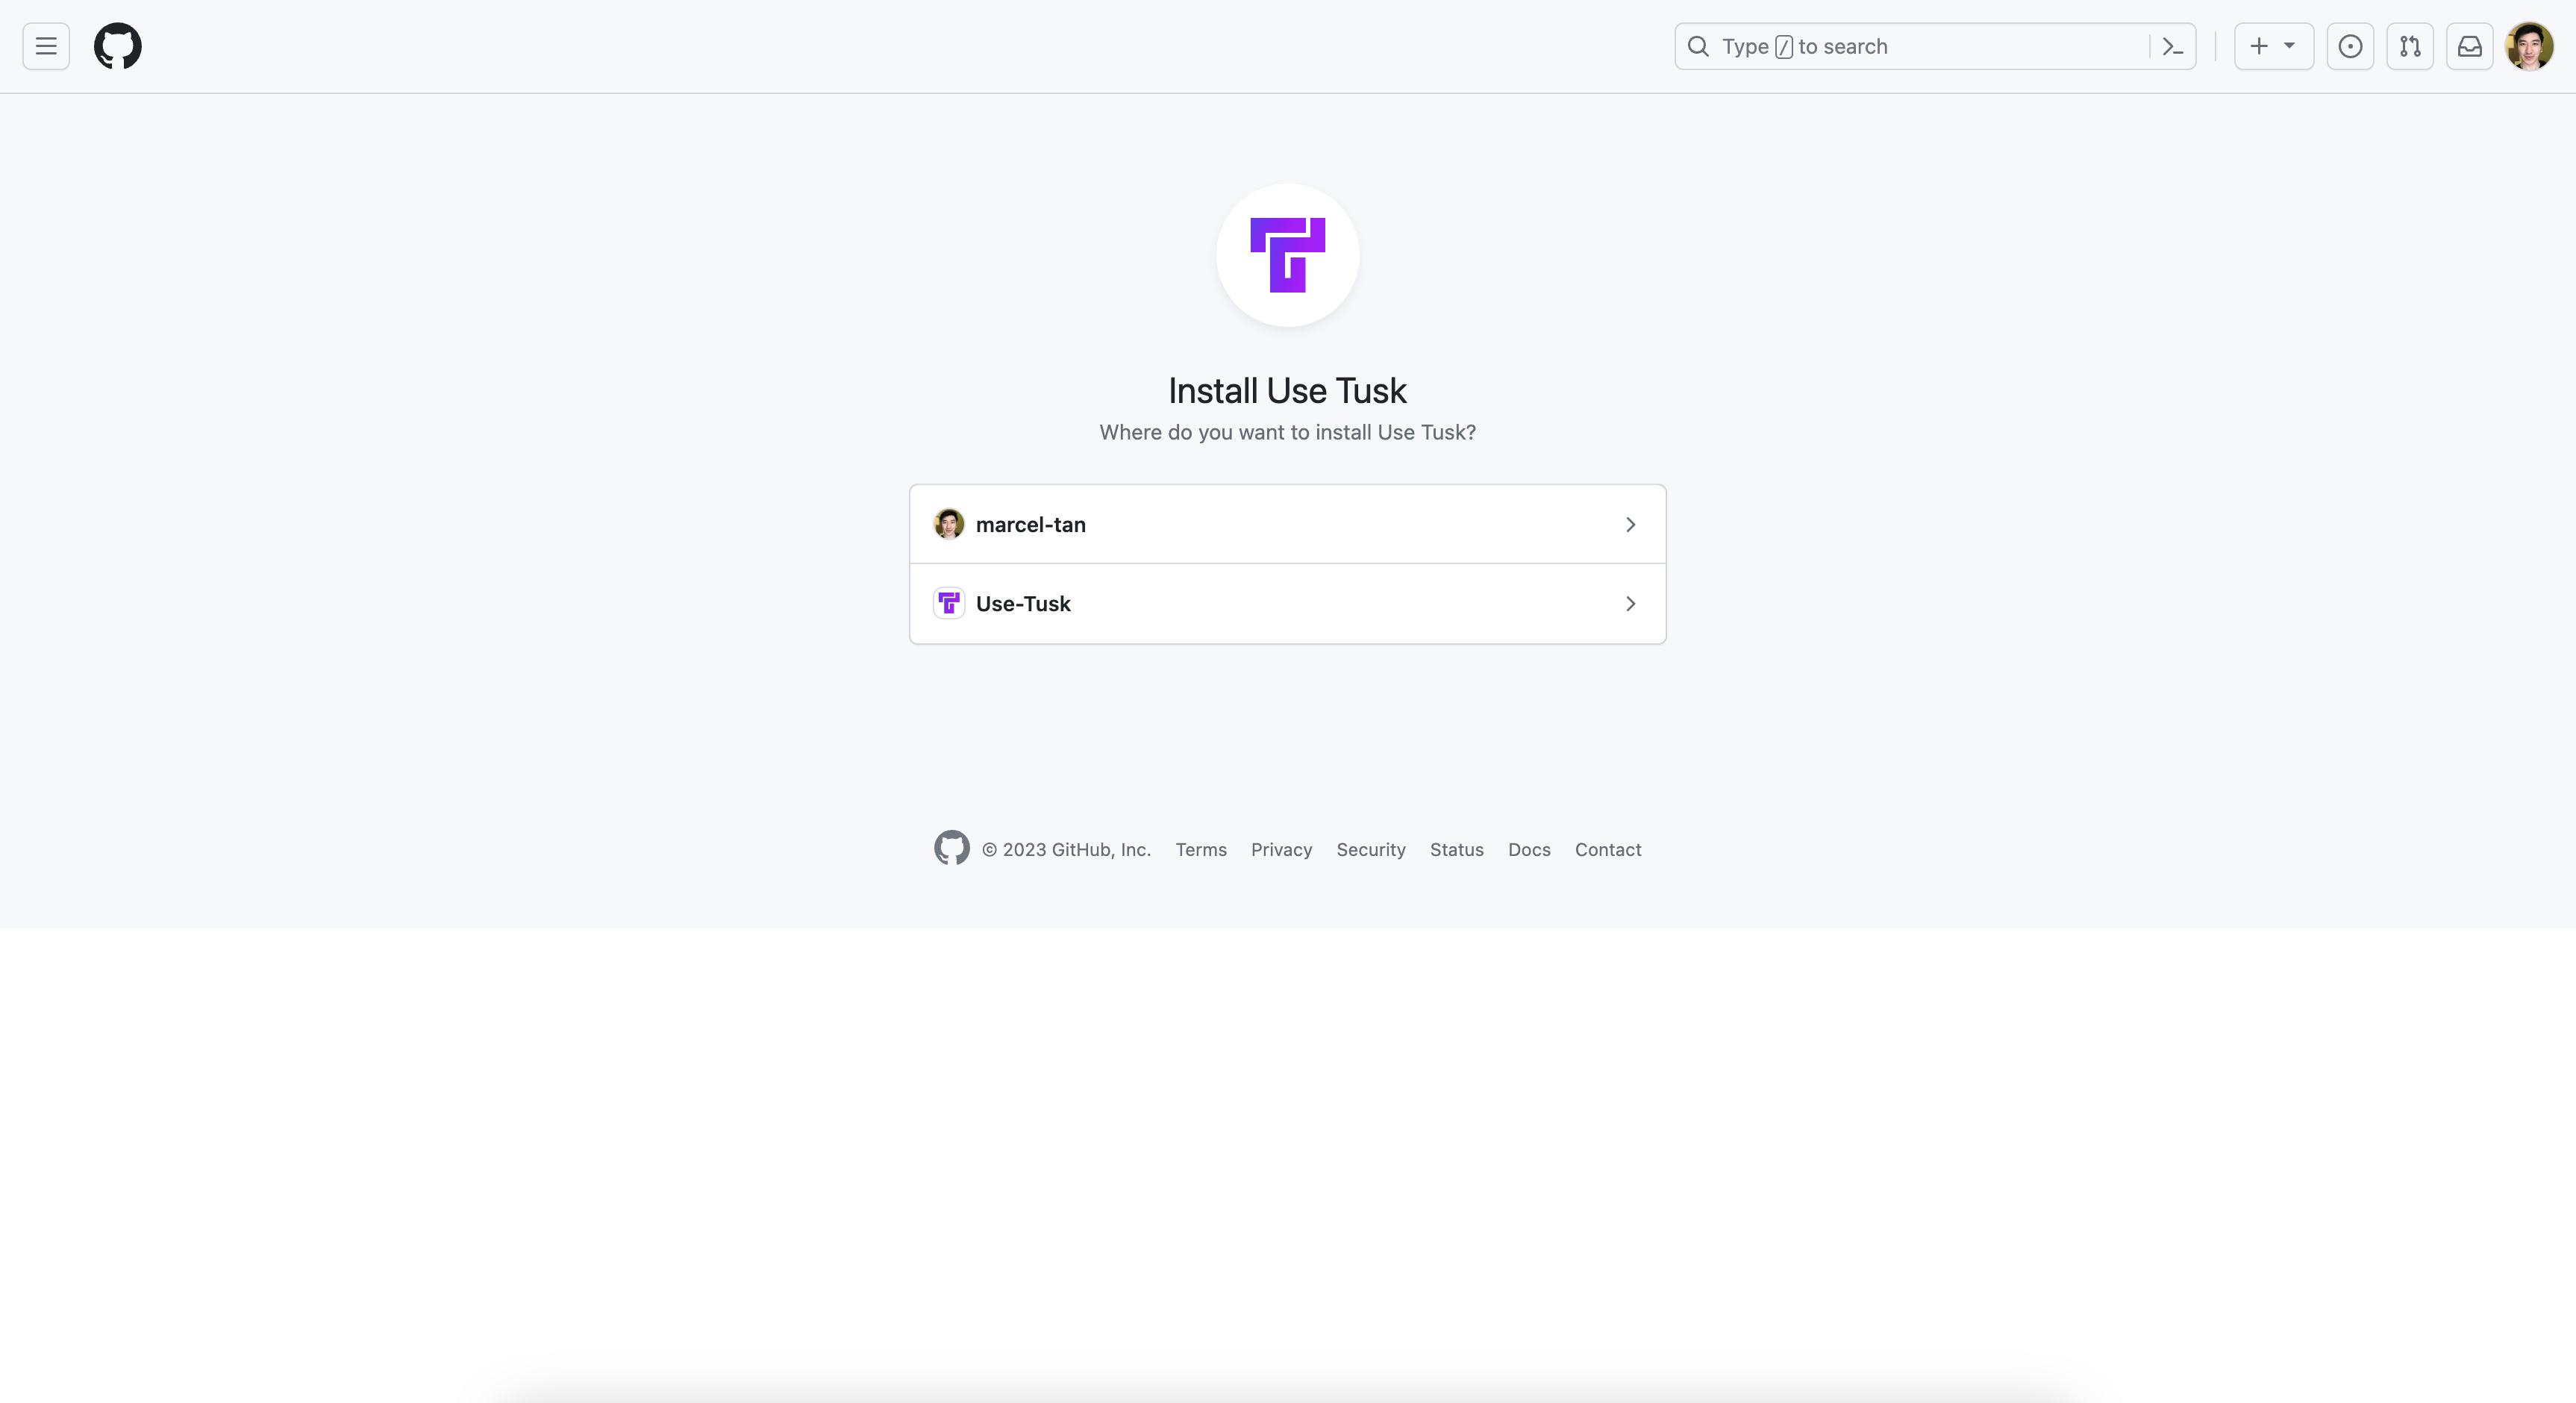
3
Configure repository access
Choose whether to authorize all repositories or only select repositories in your organization. Click Install.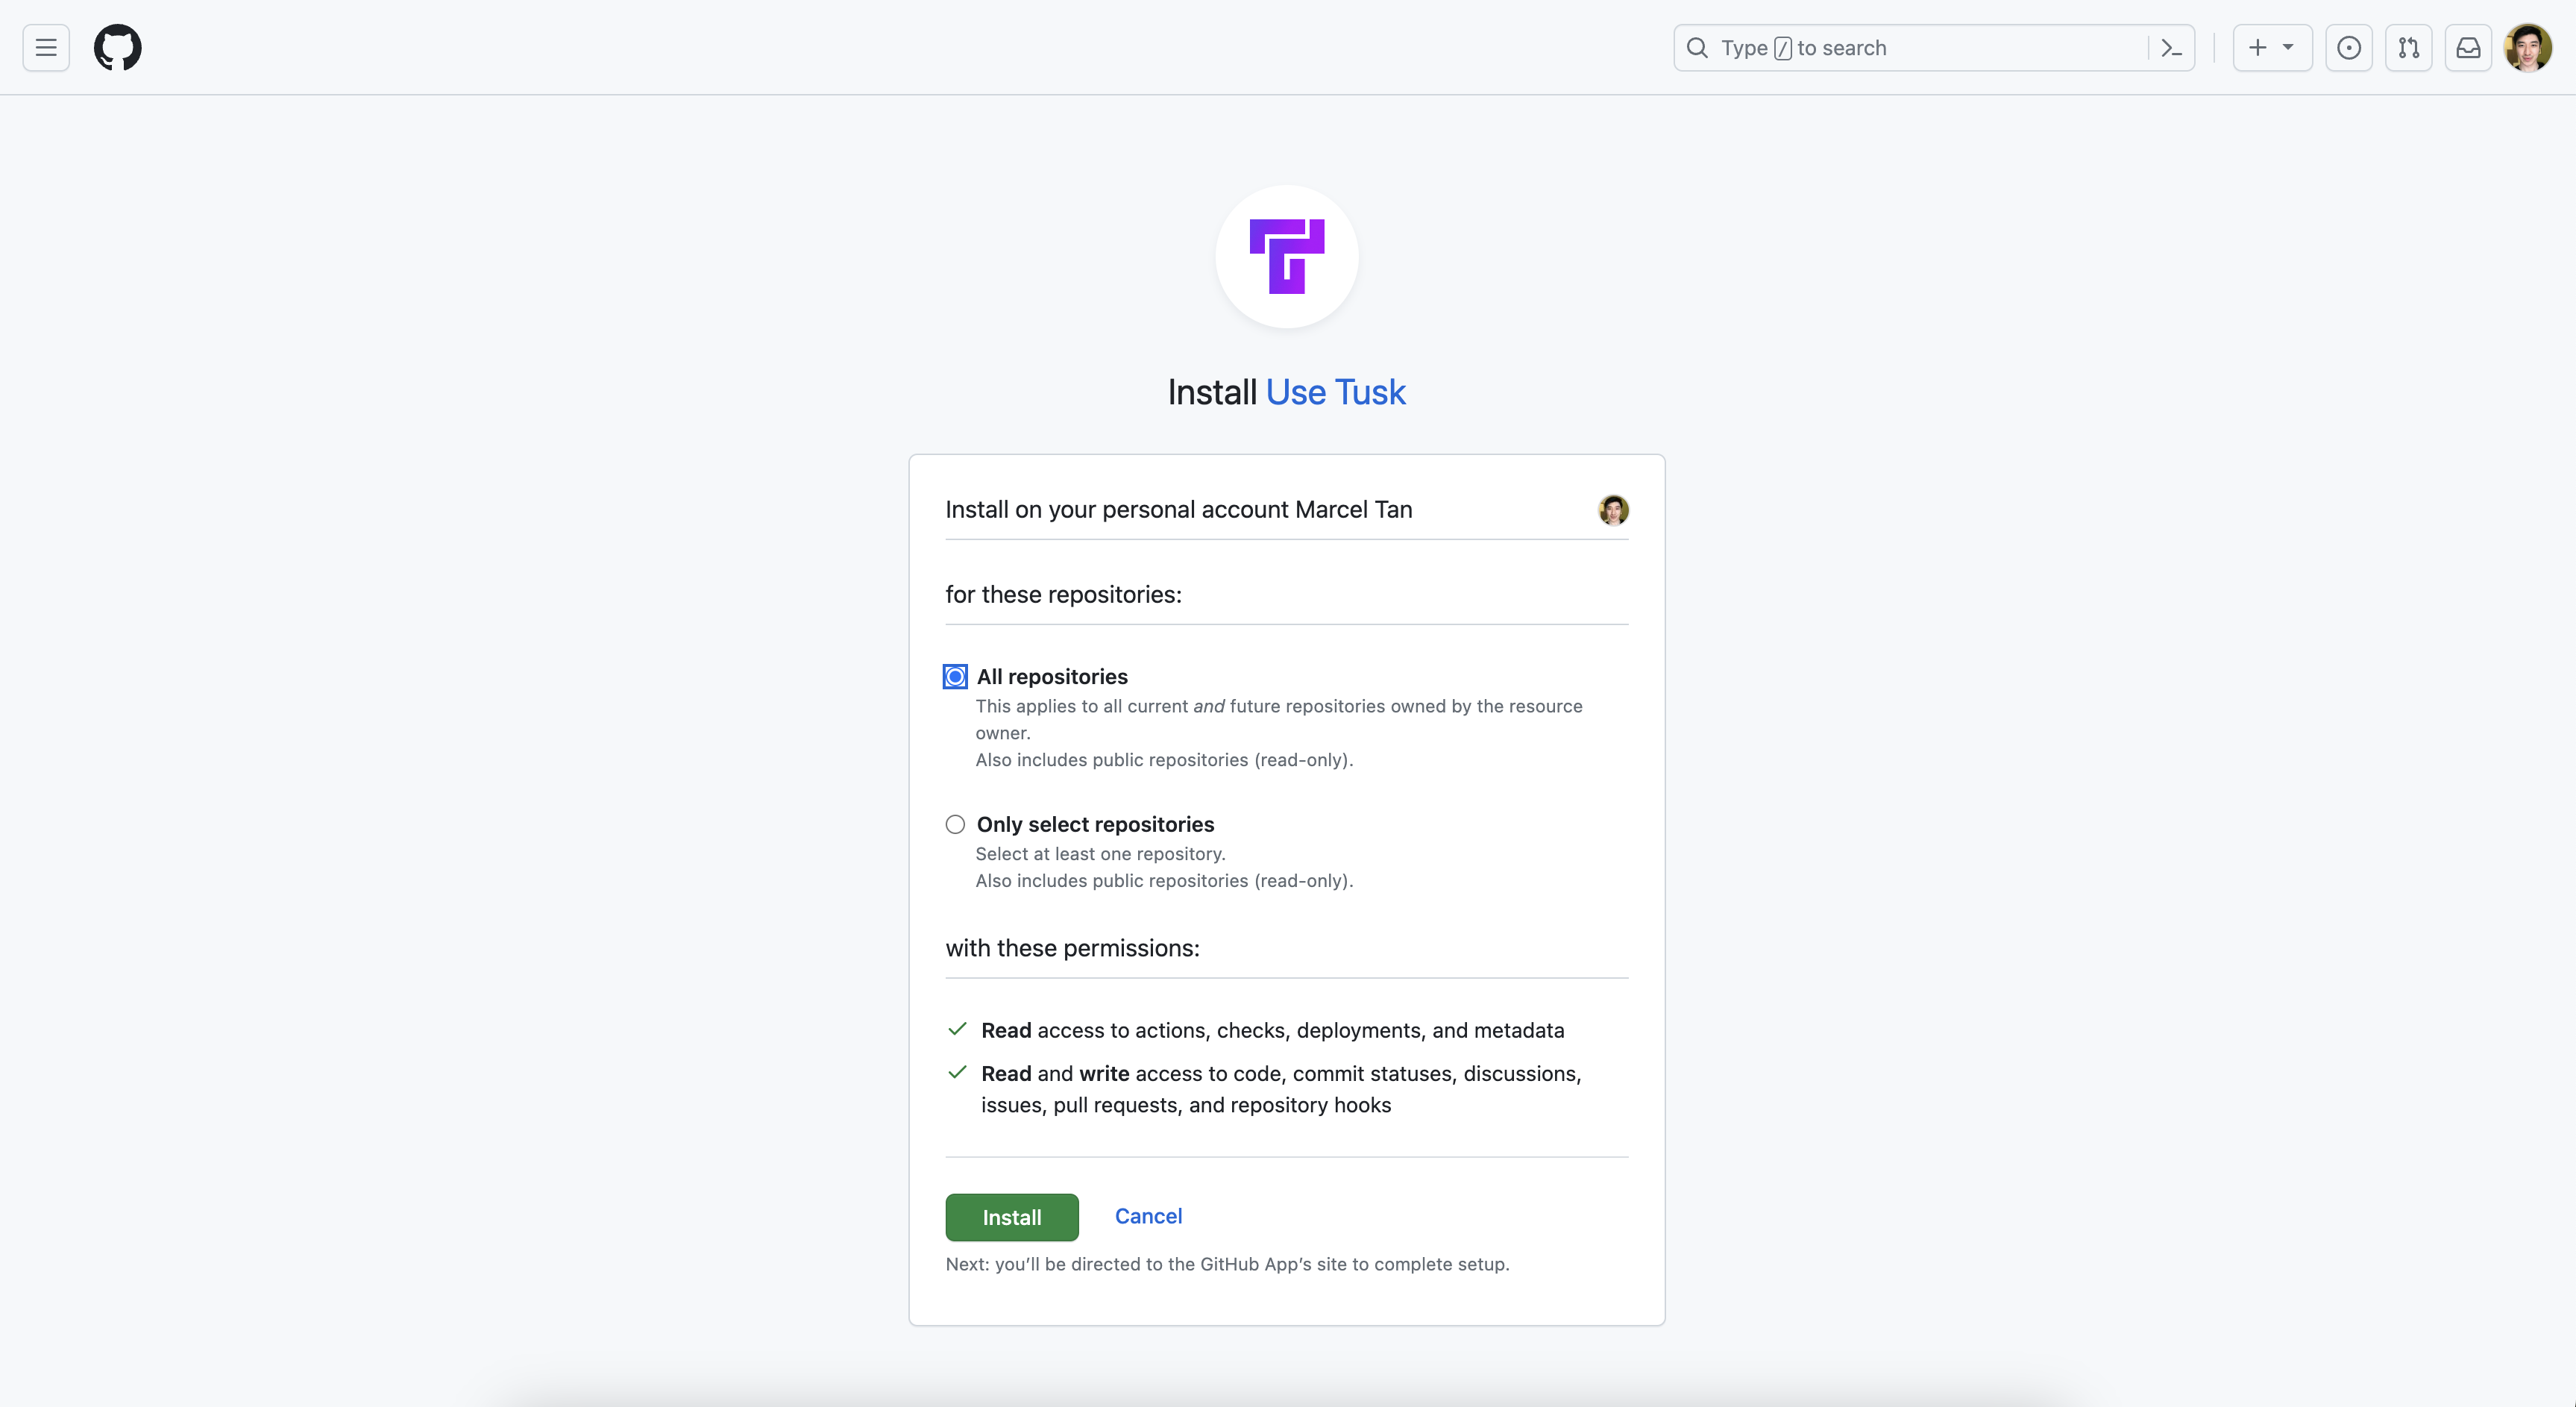
4
Analyze repos for eligiblity
Choose up to 3 repos in your organization you’d like Tusk to start the setup process for. Click Continue.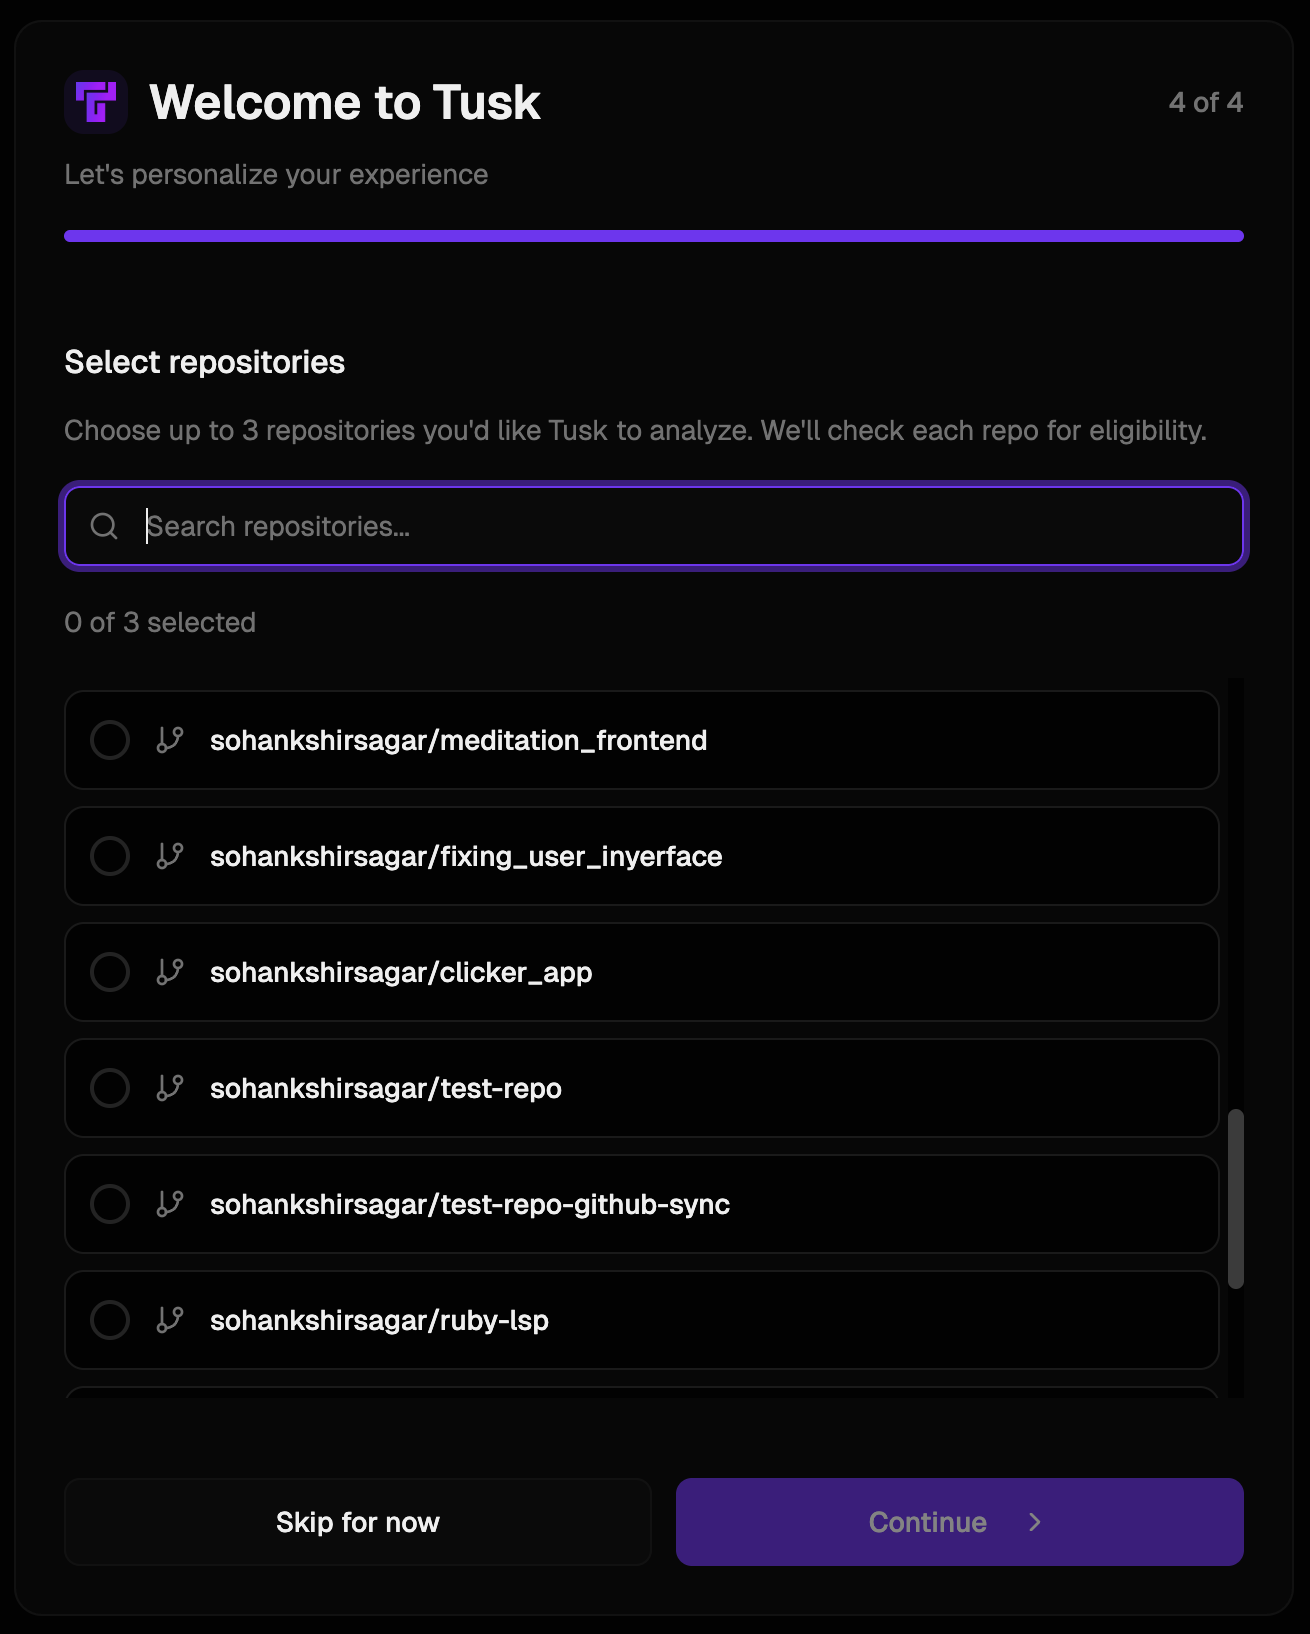
5
Complete onboarding wizard
You’ll be directed to the Repos page where you’ll see the selected repos be analyzed for their eligibility for unit test generation and API drift detection.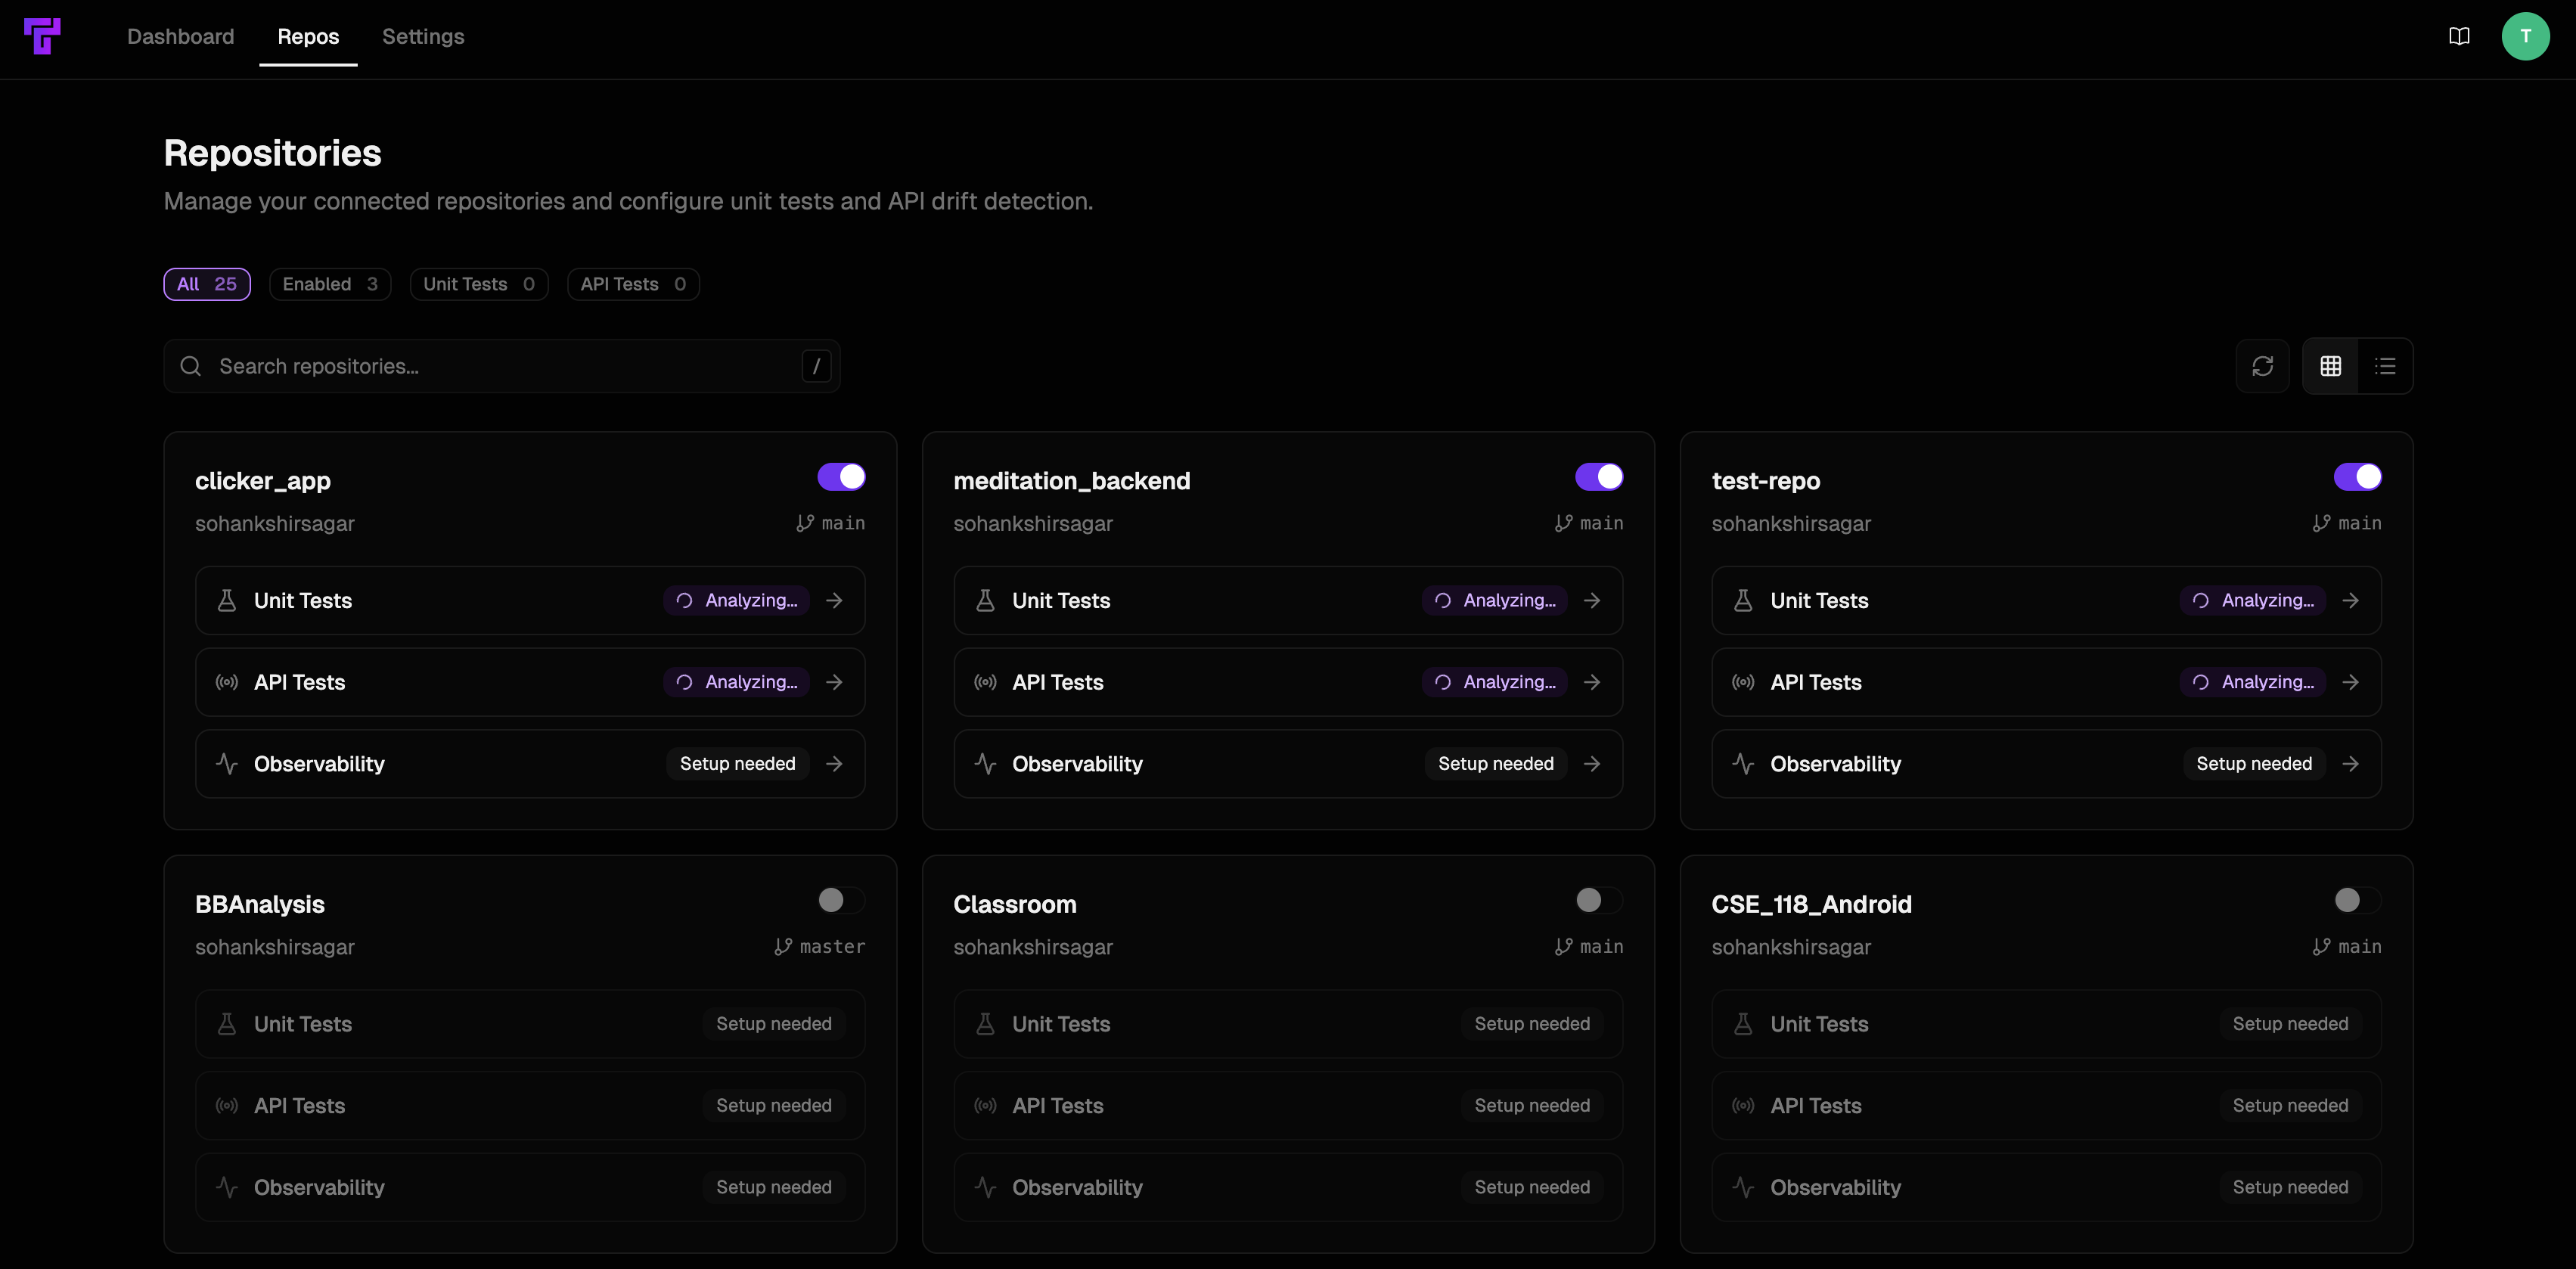

Connect project management platform (optional)
Tusk can use business context from tickets linked to your pull requests to generate more relevant unit tests and classify API deviations more accurately.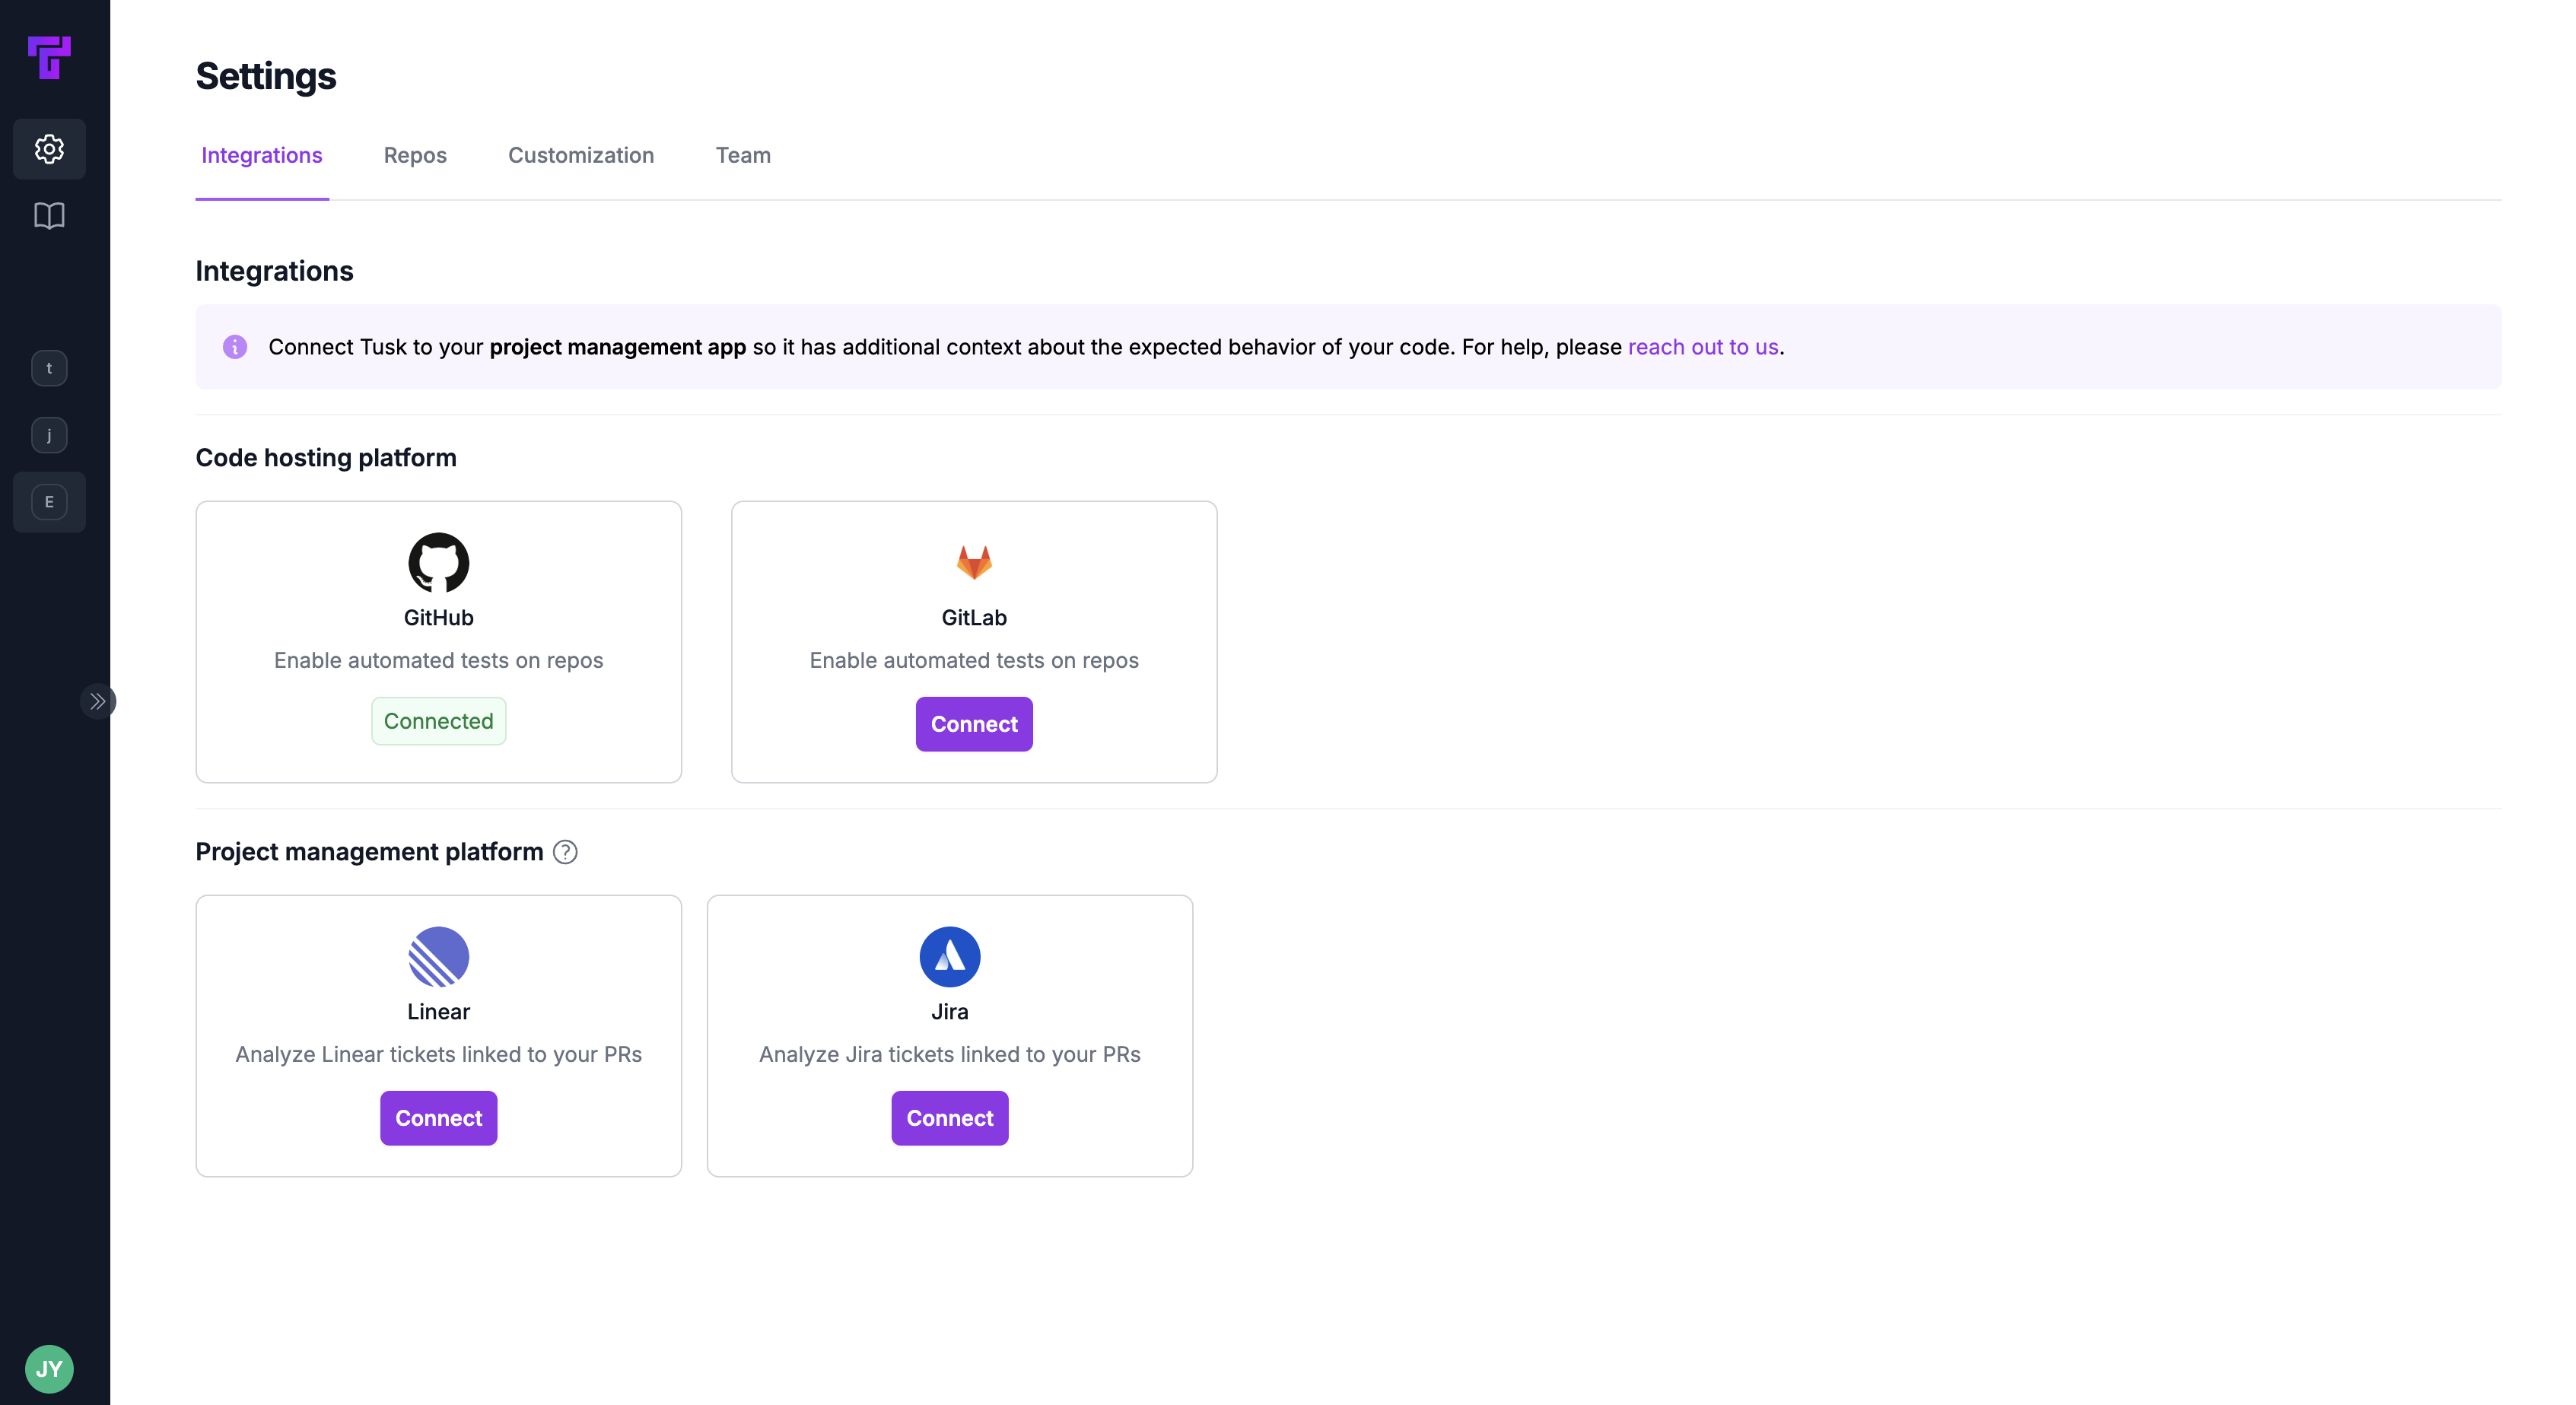
- Connect Linear
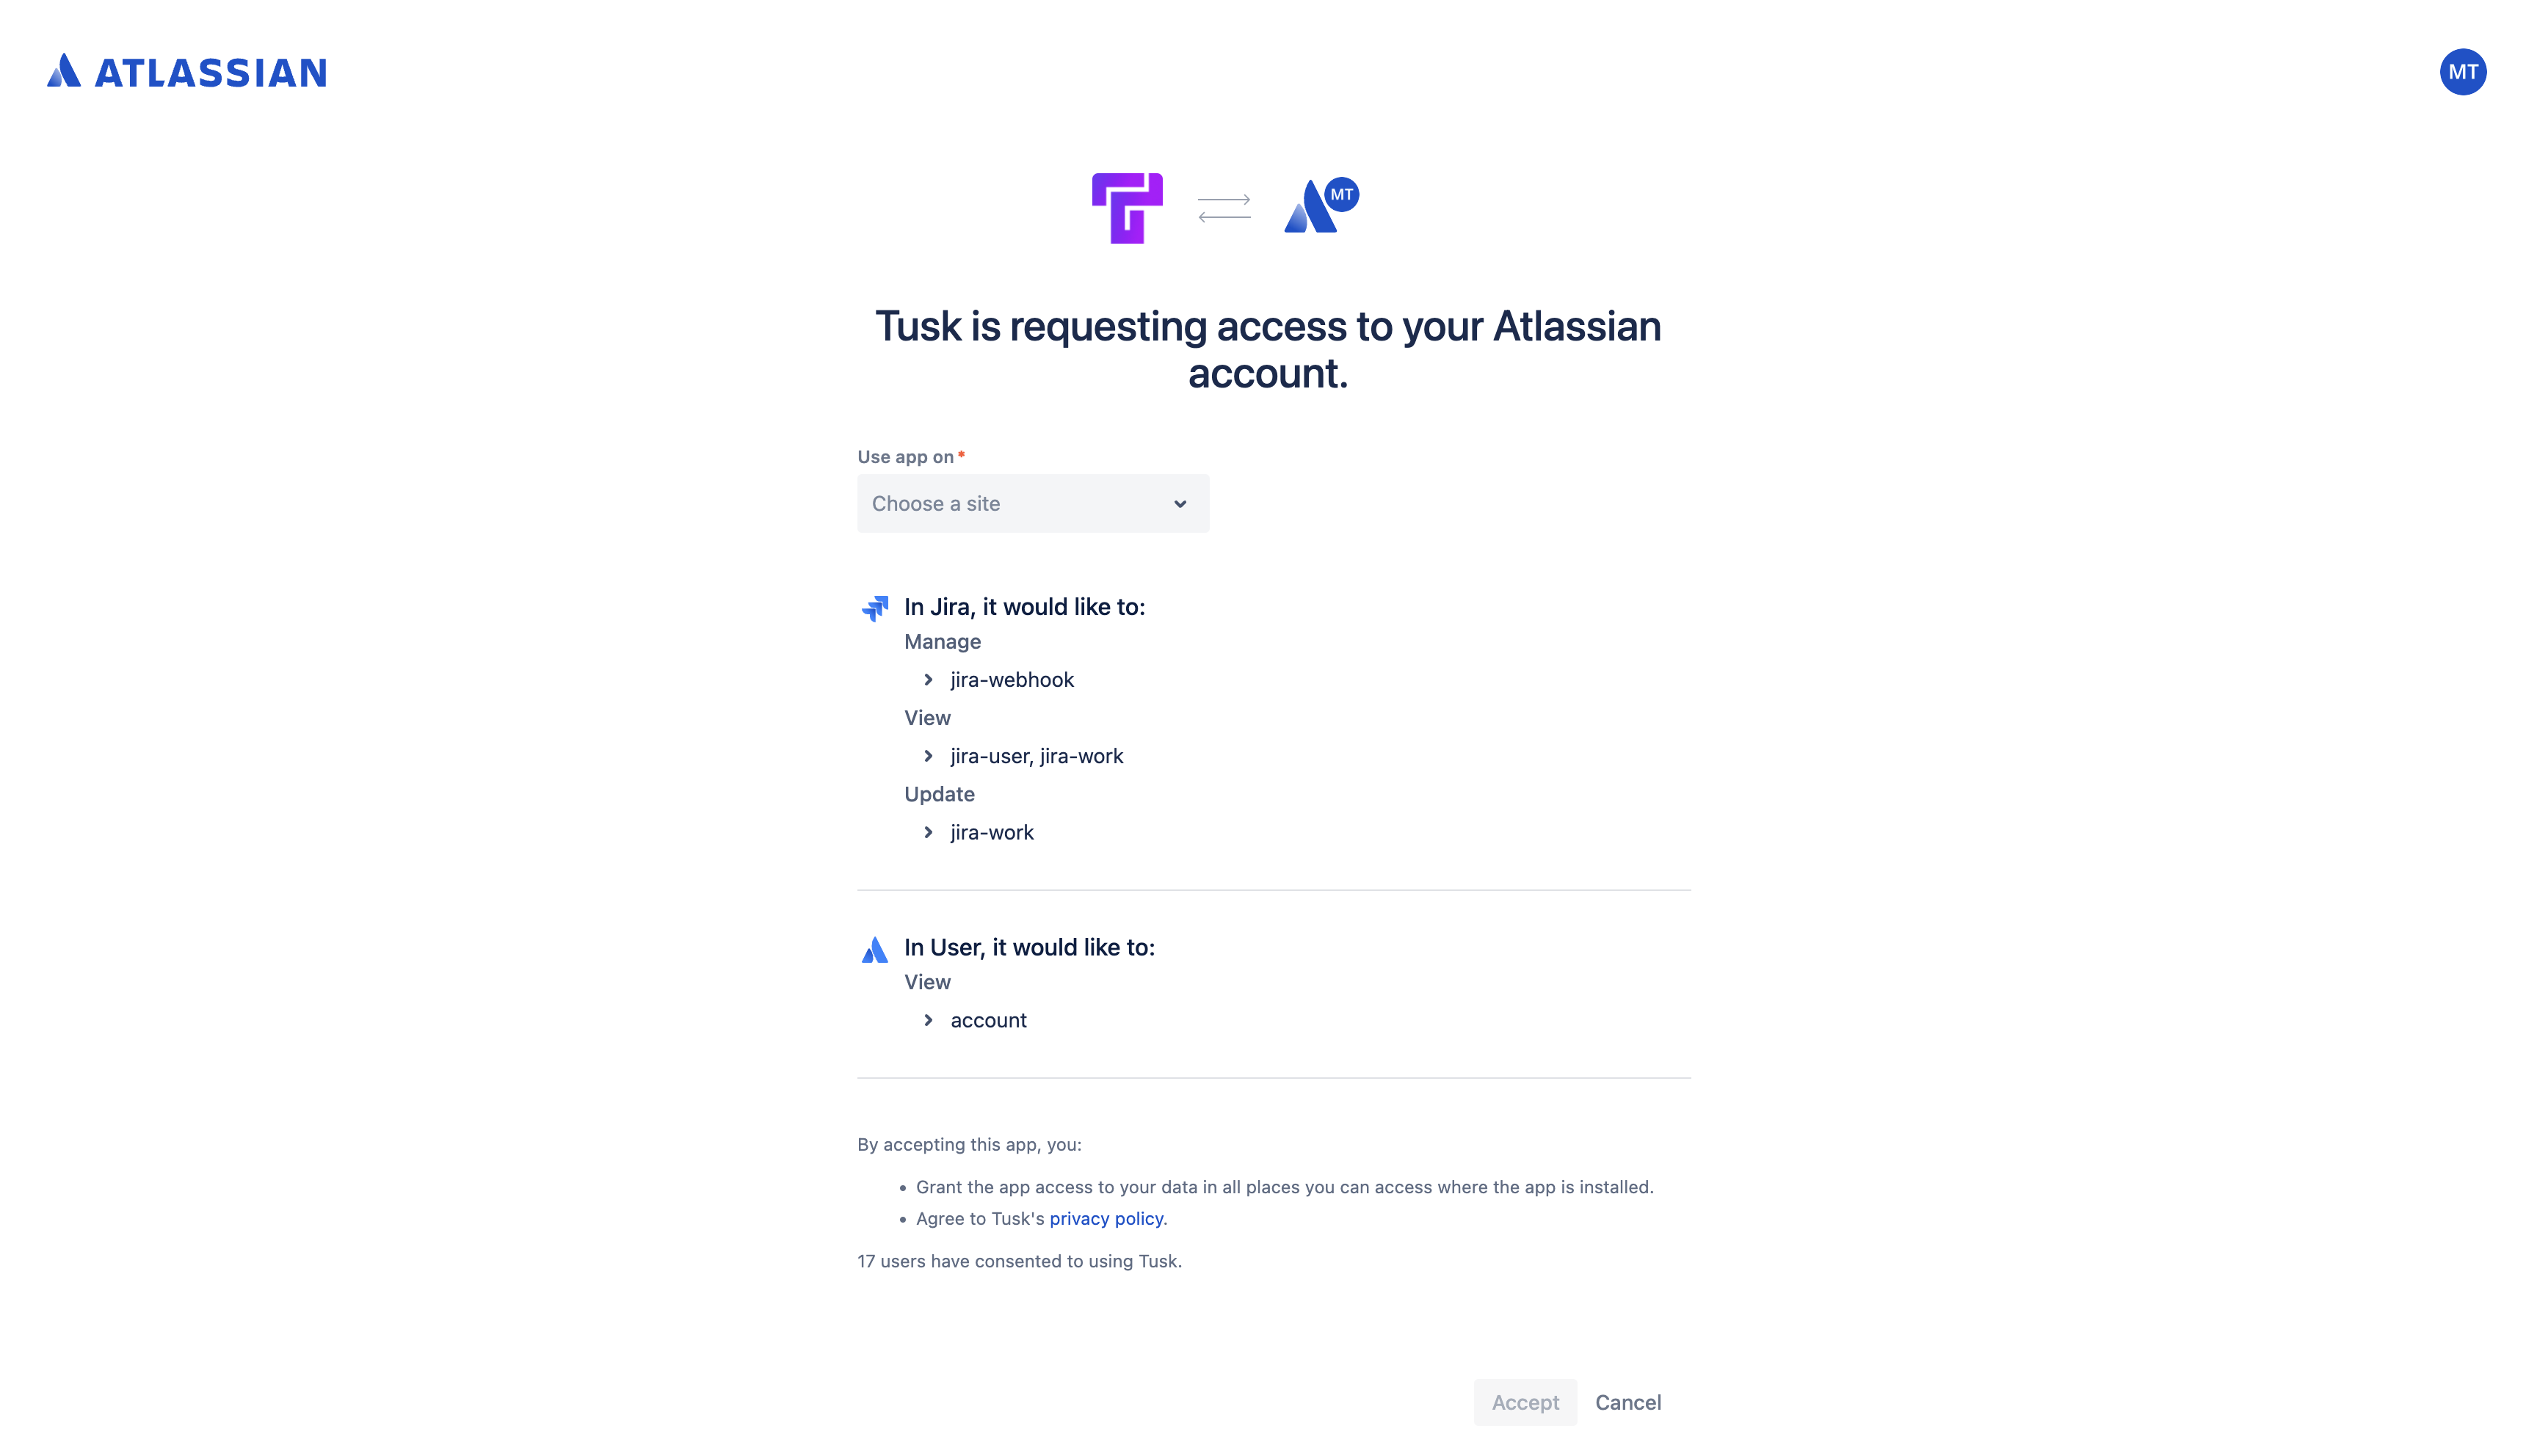
- Connect Jira
1
Connect Linear
Under the Integrations tab, find the Linear integration card under “Project management platform.” Click Connect.
2
Grant access
You’ll be redirected to the Linear app to grant Tusk access to your Linear workspace. Make sure to choose the correct workspace on the top left corner.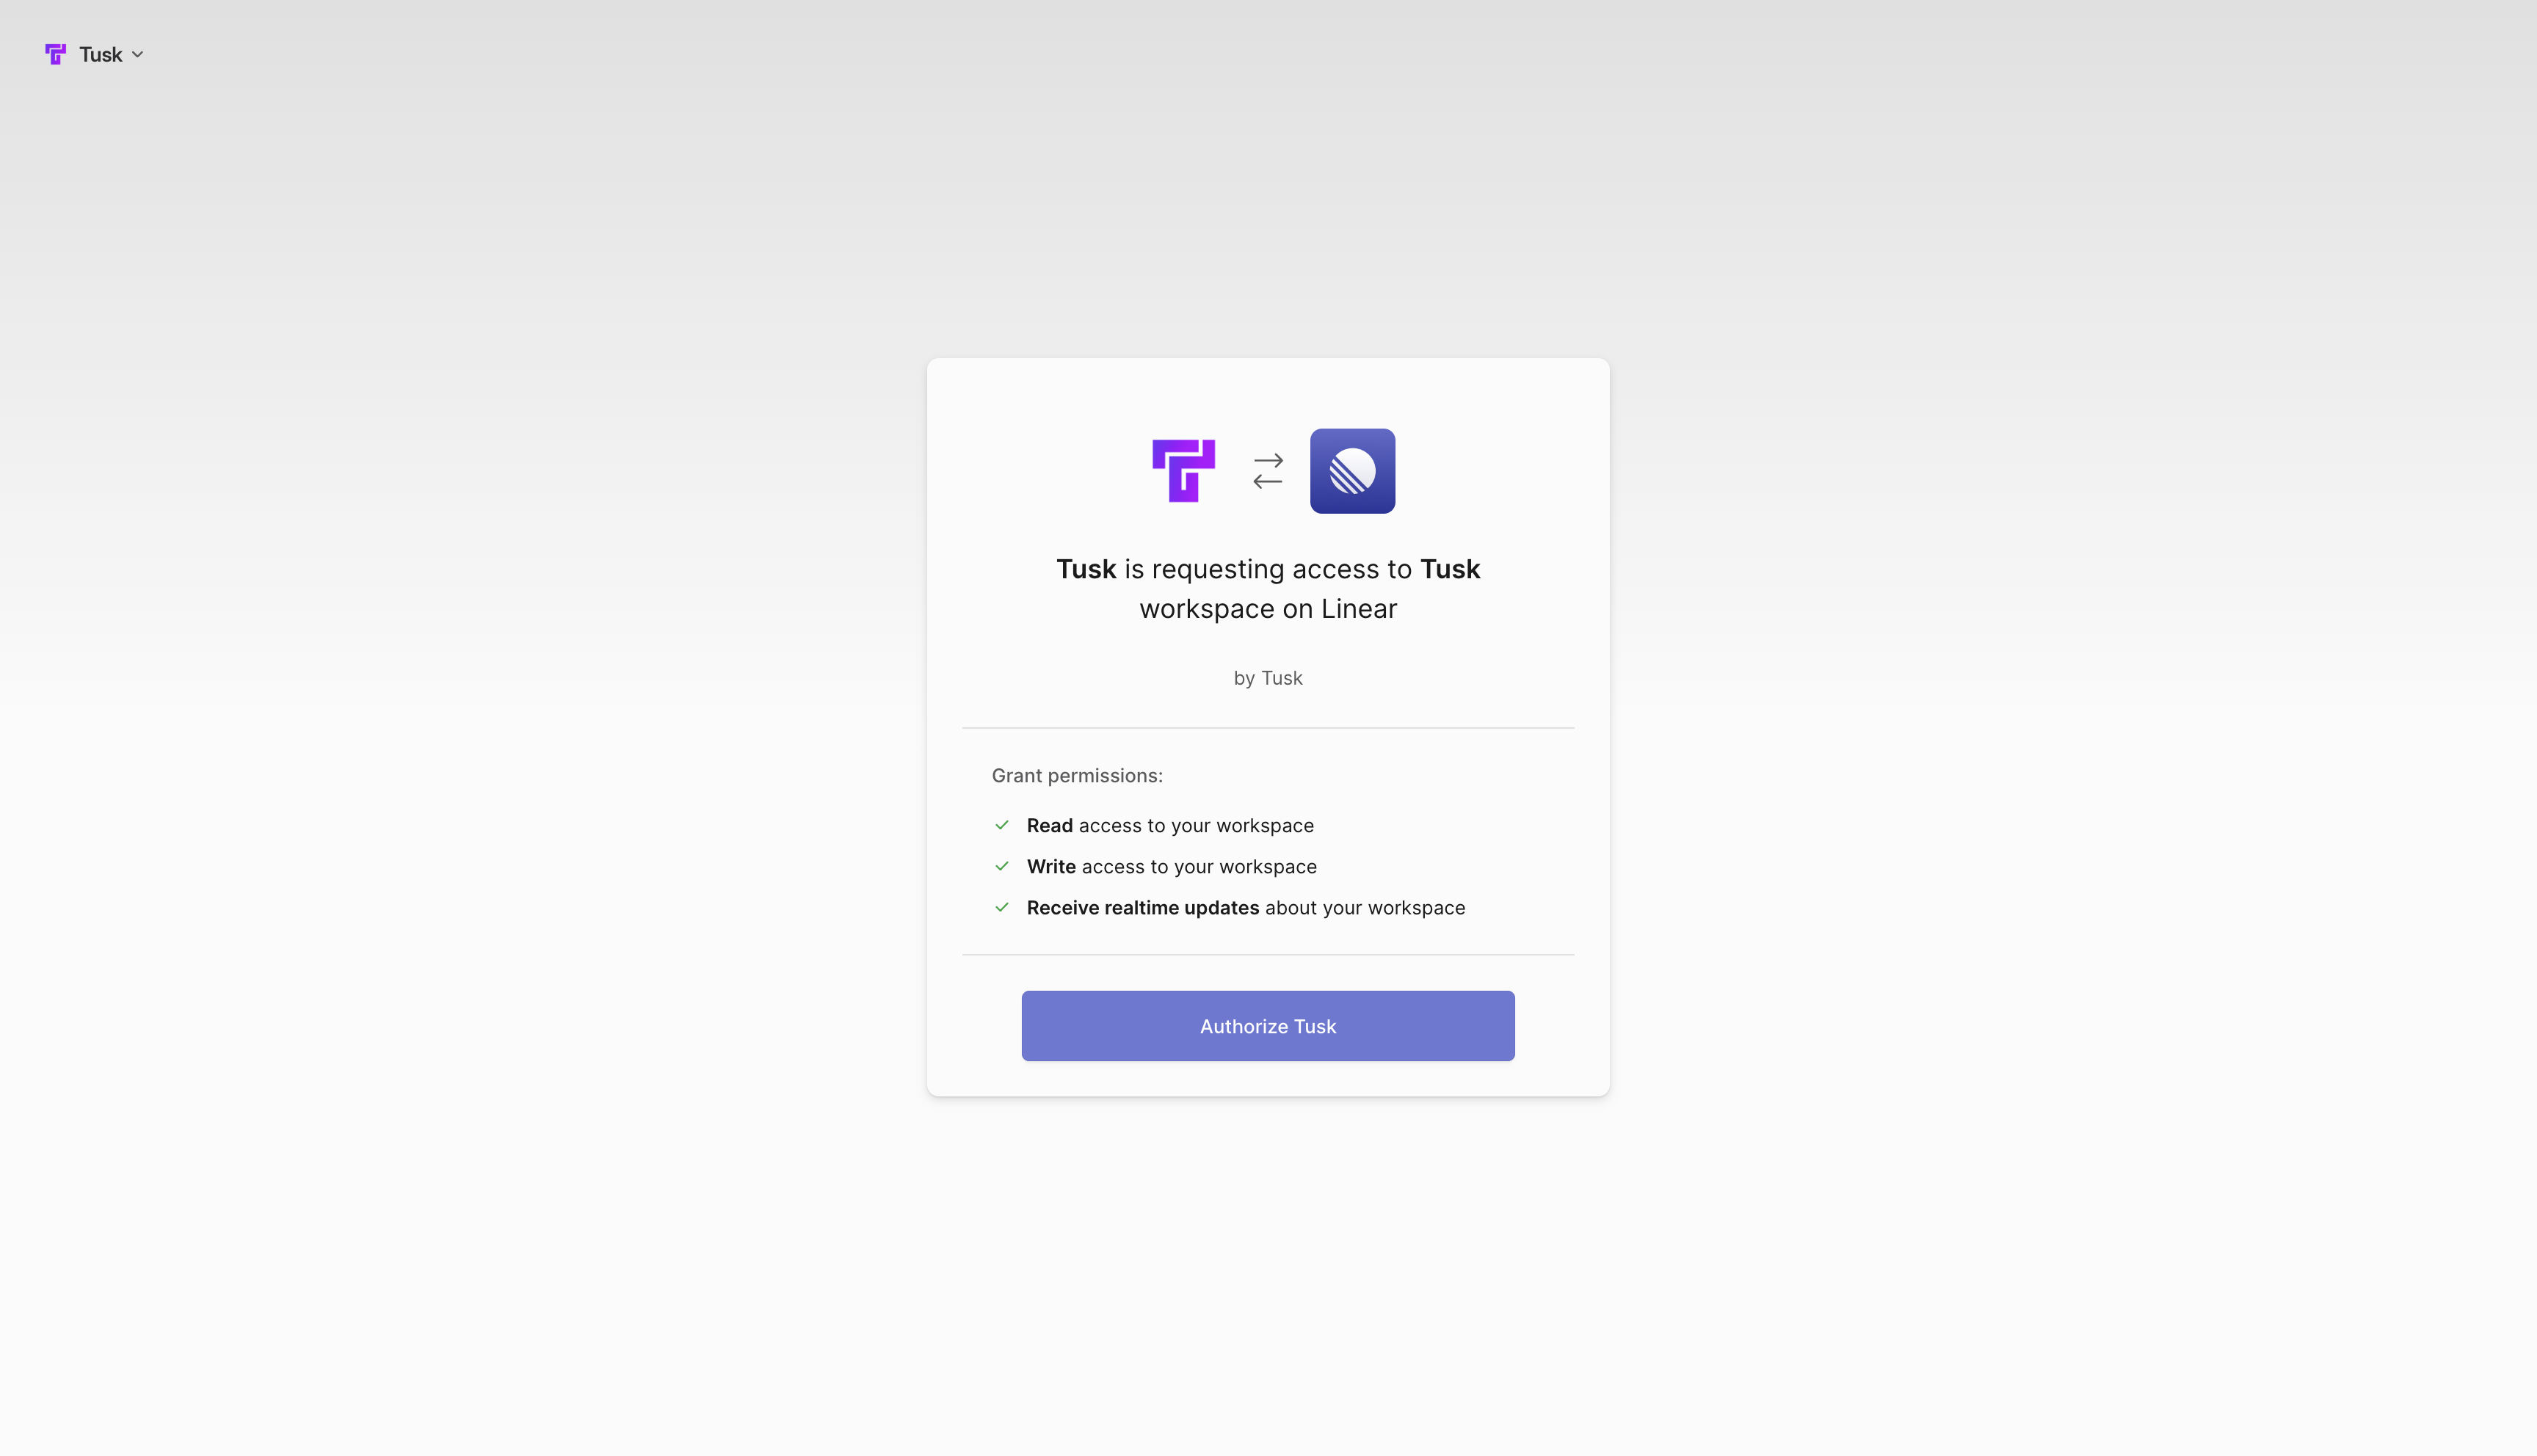
3
Authorize Tusk
Click Authorize Tusk once you have confirmed that you’re in the correct workspace.
4
Confirm connection
You’ll then be redirected back to the Tusk app, where you should now see a status badge displaying “Connected” on the Linear integration card.

Next Steps
- API Drift Detection: follow this guide to install the Tusk Drift CLI and SDK in two commands to record/replay traces as API tests.
- Unit Test Generation: follow this guide to set up a test execution environment to generate and run unit tests in your PRs.
FAQs
How do I connect additional repos to Tusk?
How do I connect additional repos to Tusk?
Make sure the additional repo(s) are in the same GitHub organization. If not, see the frequently asked question below this one.
If you’ve already given Tusk access to the repo in GitHub, follow these steps:
- Go to Connected Repos in the Tusk web app
- Click Sync connected repos
- Go to the Unit Tests page
- Click Enable to sync the additional repo(s)
I still don't see my other repos in the same organization. What's happening?
I still don't see my other repos in the same organization. What's happening?
You most likely gave Tusk access to “Only select repositories” on initial GitHub connection.
- In GitHub itself, go to Settings > GitHub Apps for the current organization (github.com/organizations/your-org-name/settings/installations)
- Click Configure for “Use Tusk”
- Under Repository access, click Select repositories
- Select the additional repo(s) from the dropdown menu
- Click Save
- In Tusk, go to Connected Repos and click Sync connected repos
- Go to the Unit Tests page
- Click Enable to sync the additional repo(s)
How do I connect another GitHub organization to Tusk?
How do I connect another GitHub organization to Tusk?
- In GitHub itself, go to Settings > GitHub Apps for the current organization (github.com/organizations/your-org-name/settings/installations)
- Click Configure for “Use Tusk”
- Click Uninstall in the “Danger zone”
- Return to the Tusk web app’s settings
- Click Connect on the GitHub integration
- Select the new GitHub organization to authorize Tusk on
How do I disconnect my GitHub organization from Tusk?
How do I disconnect my GitHub organization from Tusk?
- In GitHub itself, go to Settings > GitHub Apps for the current organization (github.com/organizations/your-org-name/settings/installations)
- Click Configure for “Use Tusk”
- Click Uninstall in the “Danger zone”
How does Tusk run the tests it generates?
How does Tusk run the tests it generates?
Tusk runs generated tests in isolated, ephemeral sandboxes using your test execution environment configuration. When you set up a test environment, Tusk creates a Docker-based sandbox specifically configured for your project’s dependencies and testing framework.This allows Tusk to:
- Verify that generated tests actually pass
- Auto-iterate on test cases if errors are encountered
- Show you test results before you incorporate them into your codebase